Lightsaber
Modeling and Rigging
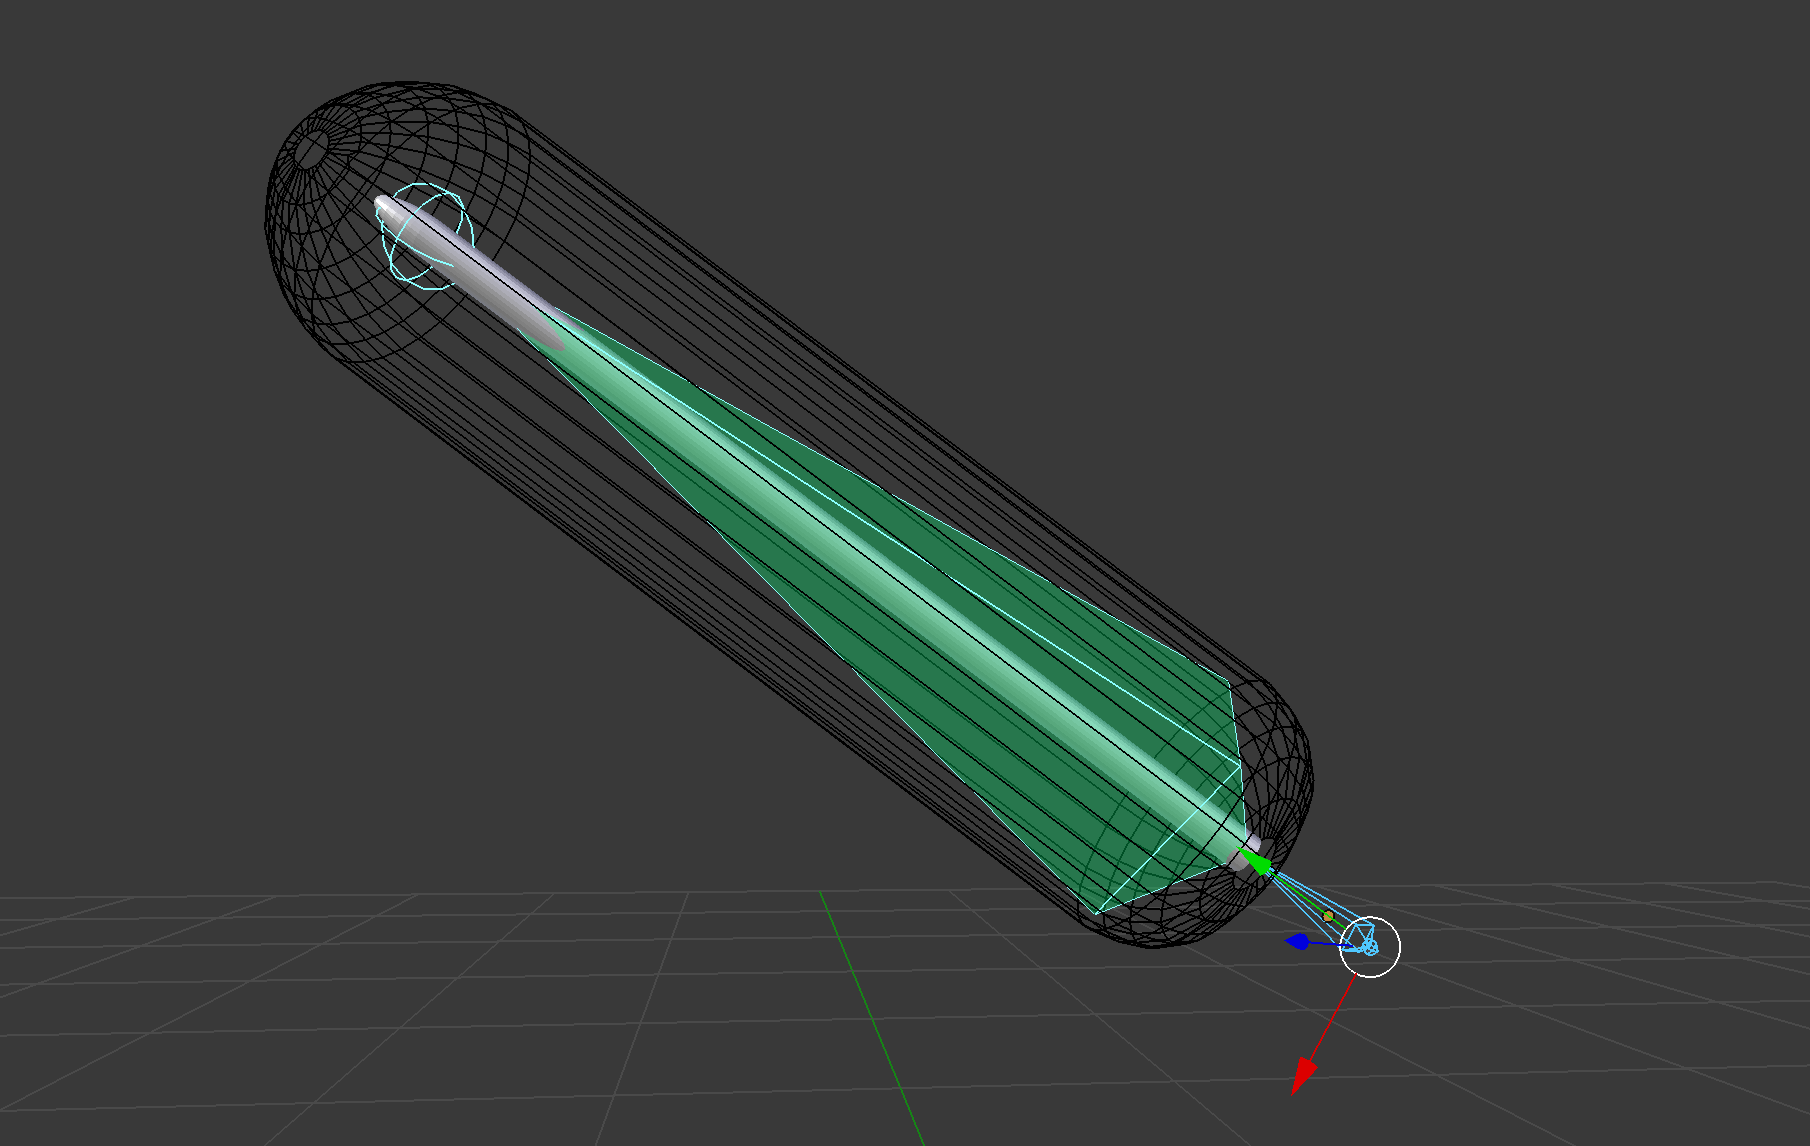
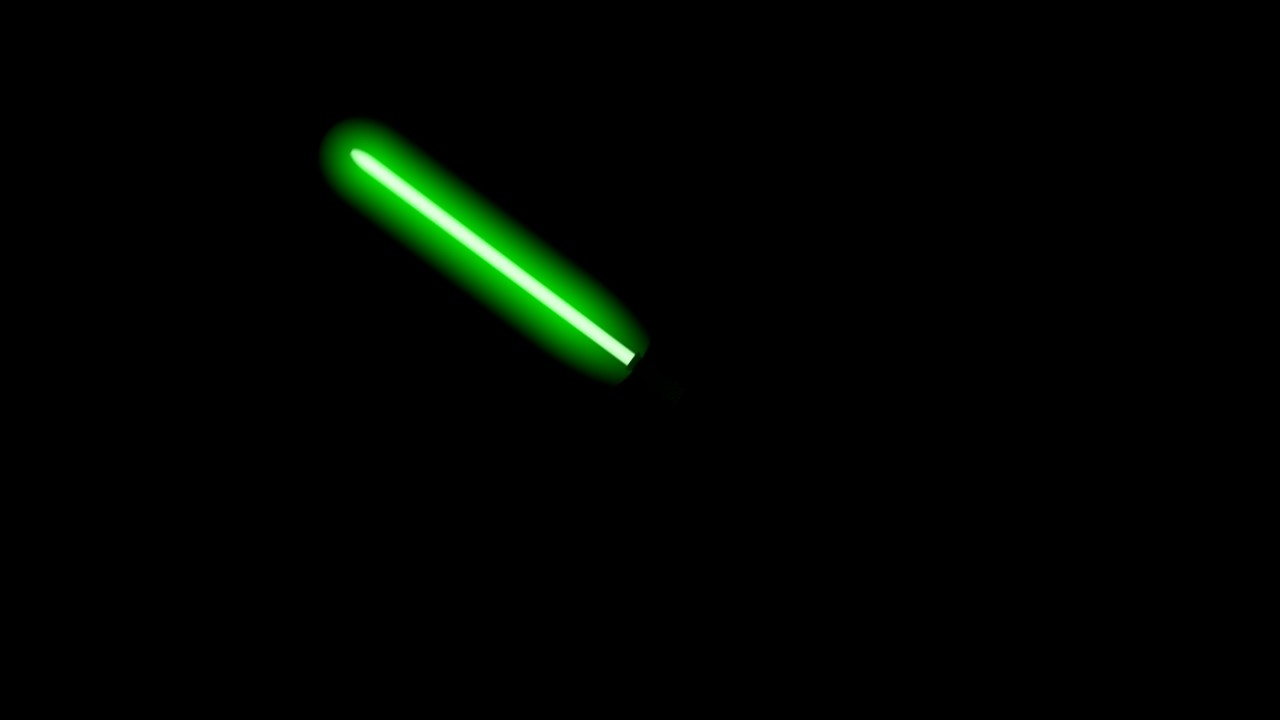
I created the basic lightsaber model based on the ideas presented in this StackExchange post. While most simple lightsaber effects create the aura effect via blurring in post-processing, I wanted a more accurate representation using volumetric lighting. This would allow easier integration with post-processing effects like motion blur, and allows more control of the shape and density of the aura.
The "blade" of the lightsaber is a simply cylinder with a tapered end. A larger rounded cylinder around the core delineates the bounding box of the aura effect around the blade. Another cylinder serves as a mock handle, although the handle is not rendered in practice. The lighsaber is rigged with two bones, one for the handle, and one for the blade. The blade bone is constrained to match relative position and rotation with the handle's bone. The origin of the blade is set to match the hilt, such that the blade's extension can be controlled by scaling the blade bone.
Materials
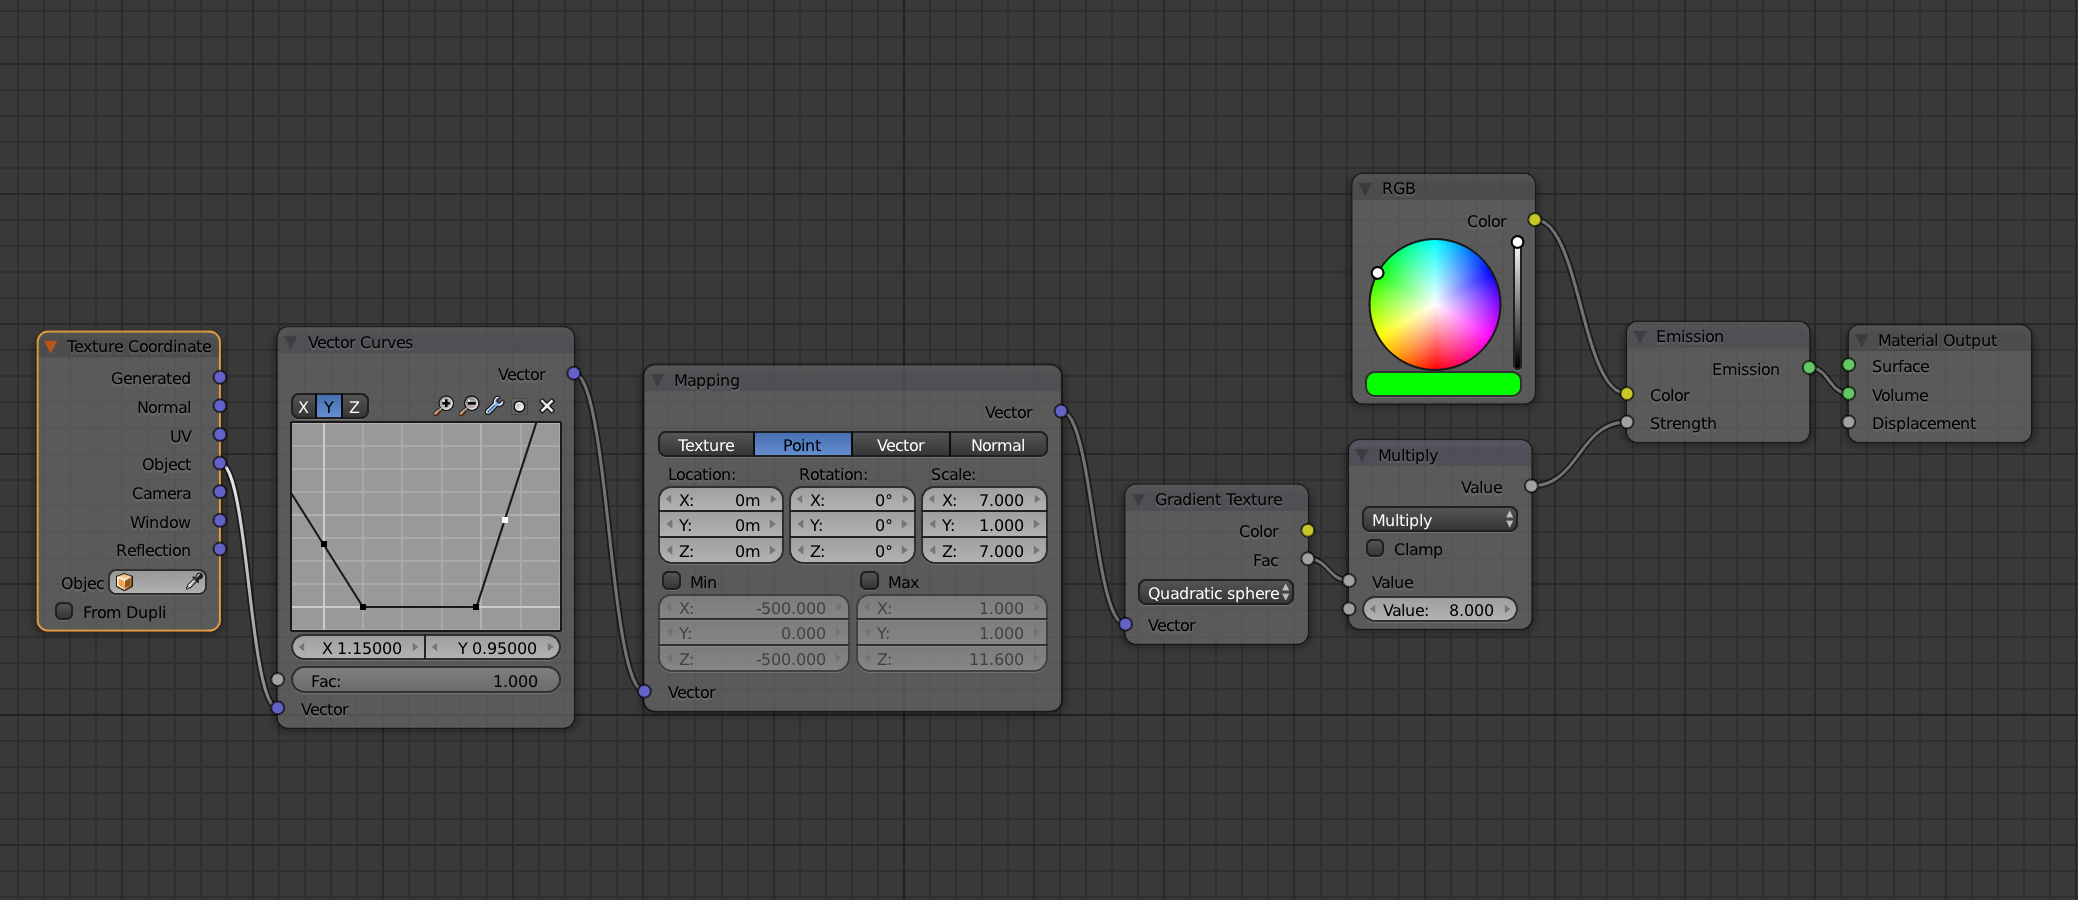
The core uses a simple emissive material with a slight tint to match the color of the blade. Most of the color comes from the aura, which has an emissive volume. The strength of the emission is controlled as a function of the object coordinates. This function is based on a scaled quadratic gradient.
Motion Capture
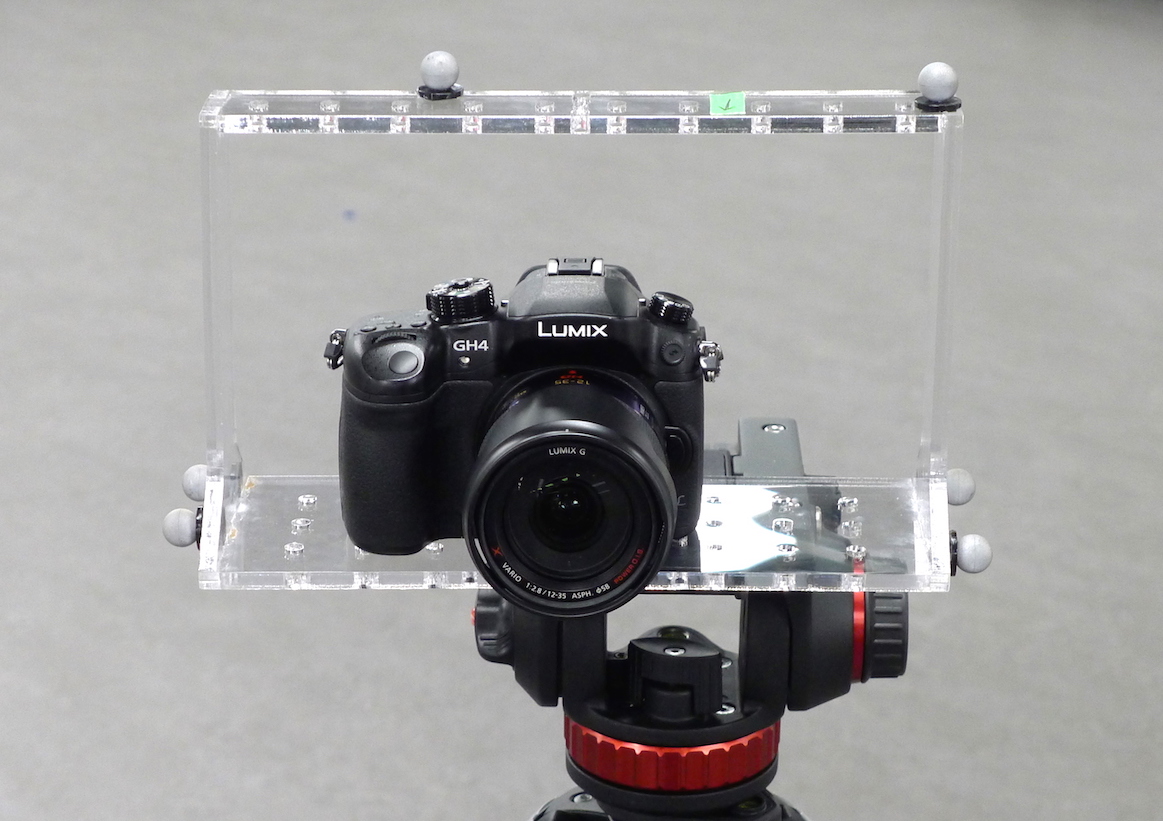
A special camera tracking rig made from laser cut acrylic helped to reconstruct the camera position relative to the lightsaber. The basic design was created in OnShape. Both the base and top bar feature a grid of 1/4-20 passthrough holes for securing cameras and other equipment to the rig and a couple 1/4-20 tapped holes compatible with standard tripod mounting screws.
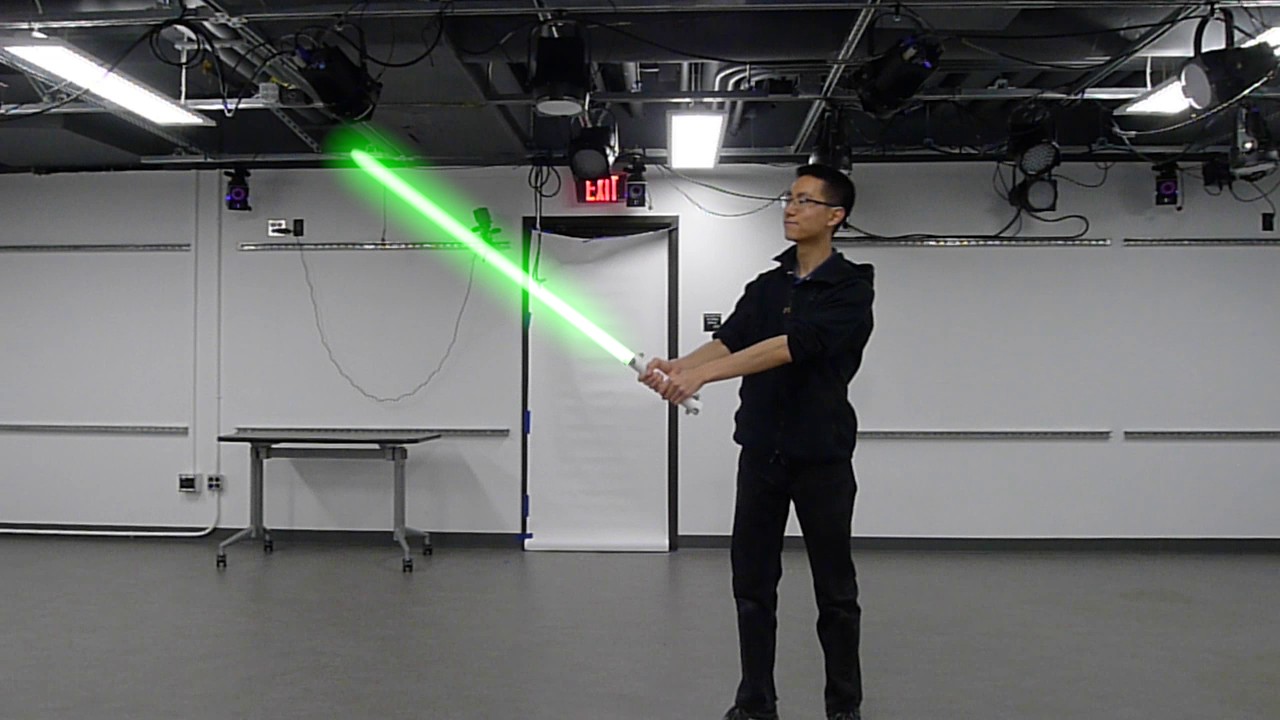
Filming and motion capture was done using the CST Studiolab's Vicon mocap setup. I used my Vicon CSV importer addon to map the motion capture data onto the handle's armature and the virtual camera in Blender. In practice, the tracking showed very high accuracy. However, with some tracking dot arrangements there would be dramatic jumps in rotation or position when certain dots were occluded. These had to be manually edited out in Blender. In addition, proper matching of computer generated and real footage relies a lot on knowing the exact camera and lens parameters.
Compositing
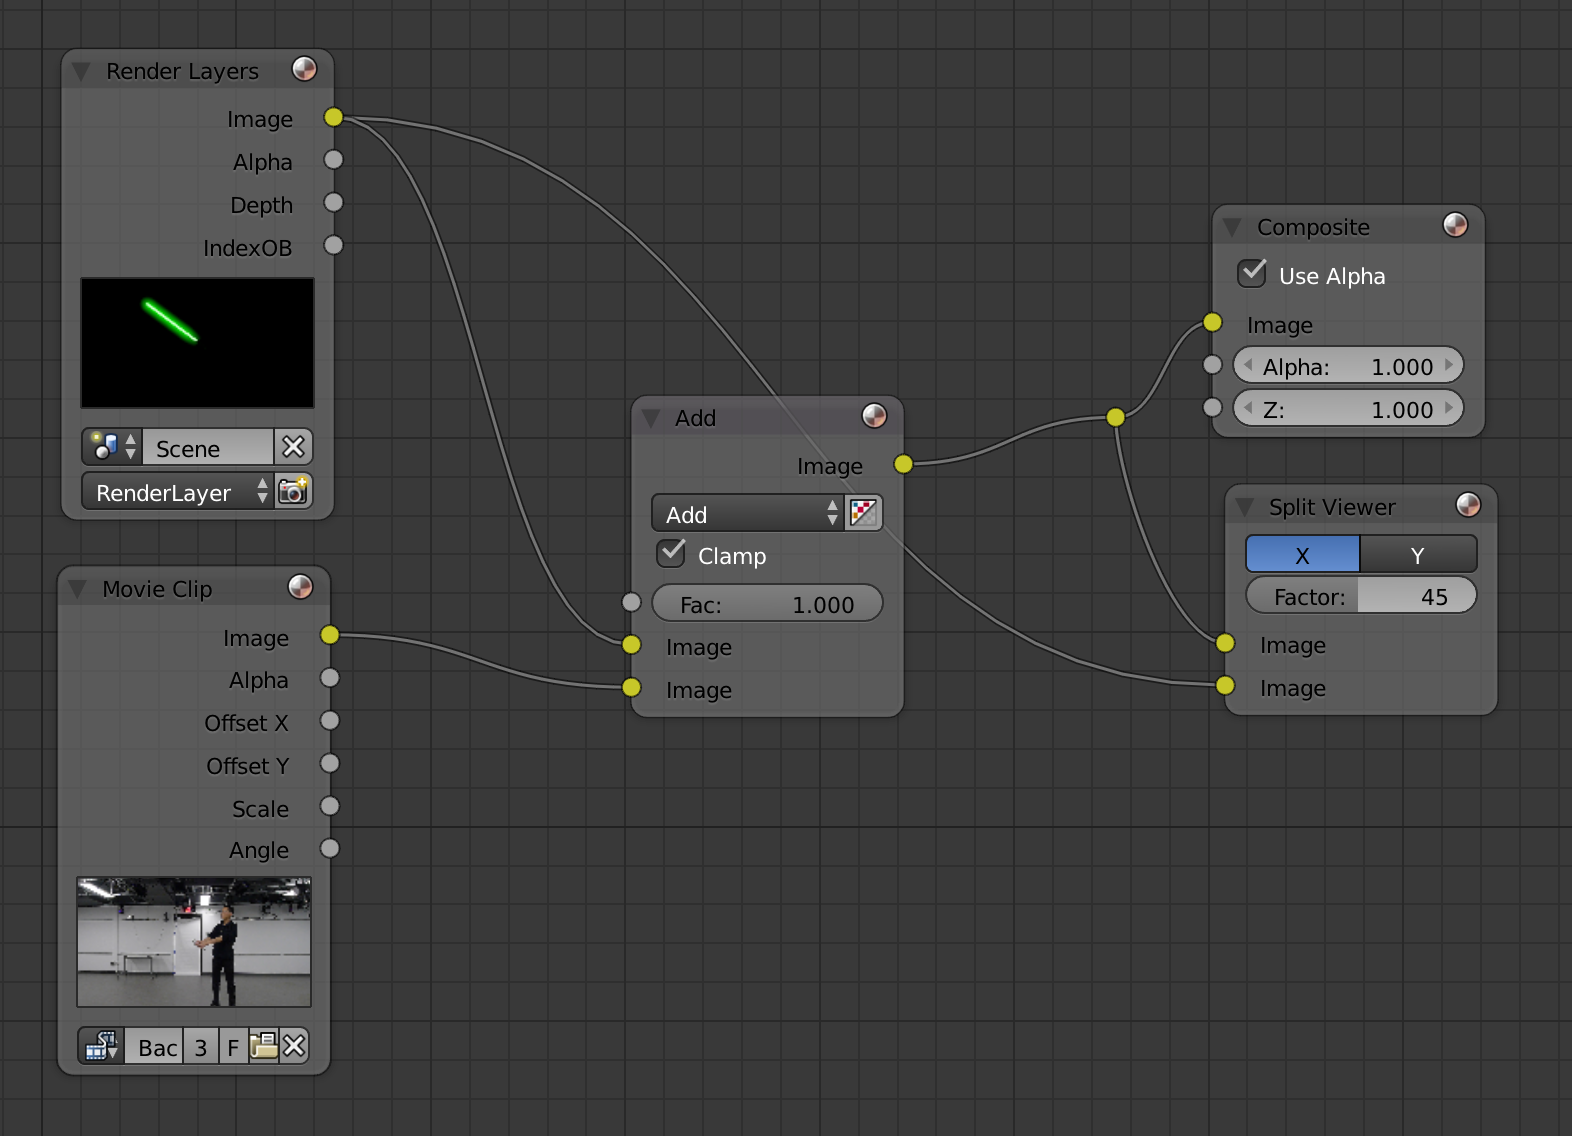
The aura and lightsaber core were placed on their own renderlayer with environment disabled. The final output was produced by adding the renderlayer output to the background footage.
Stills
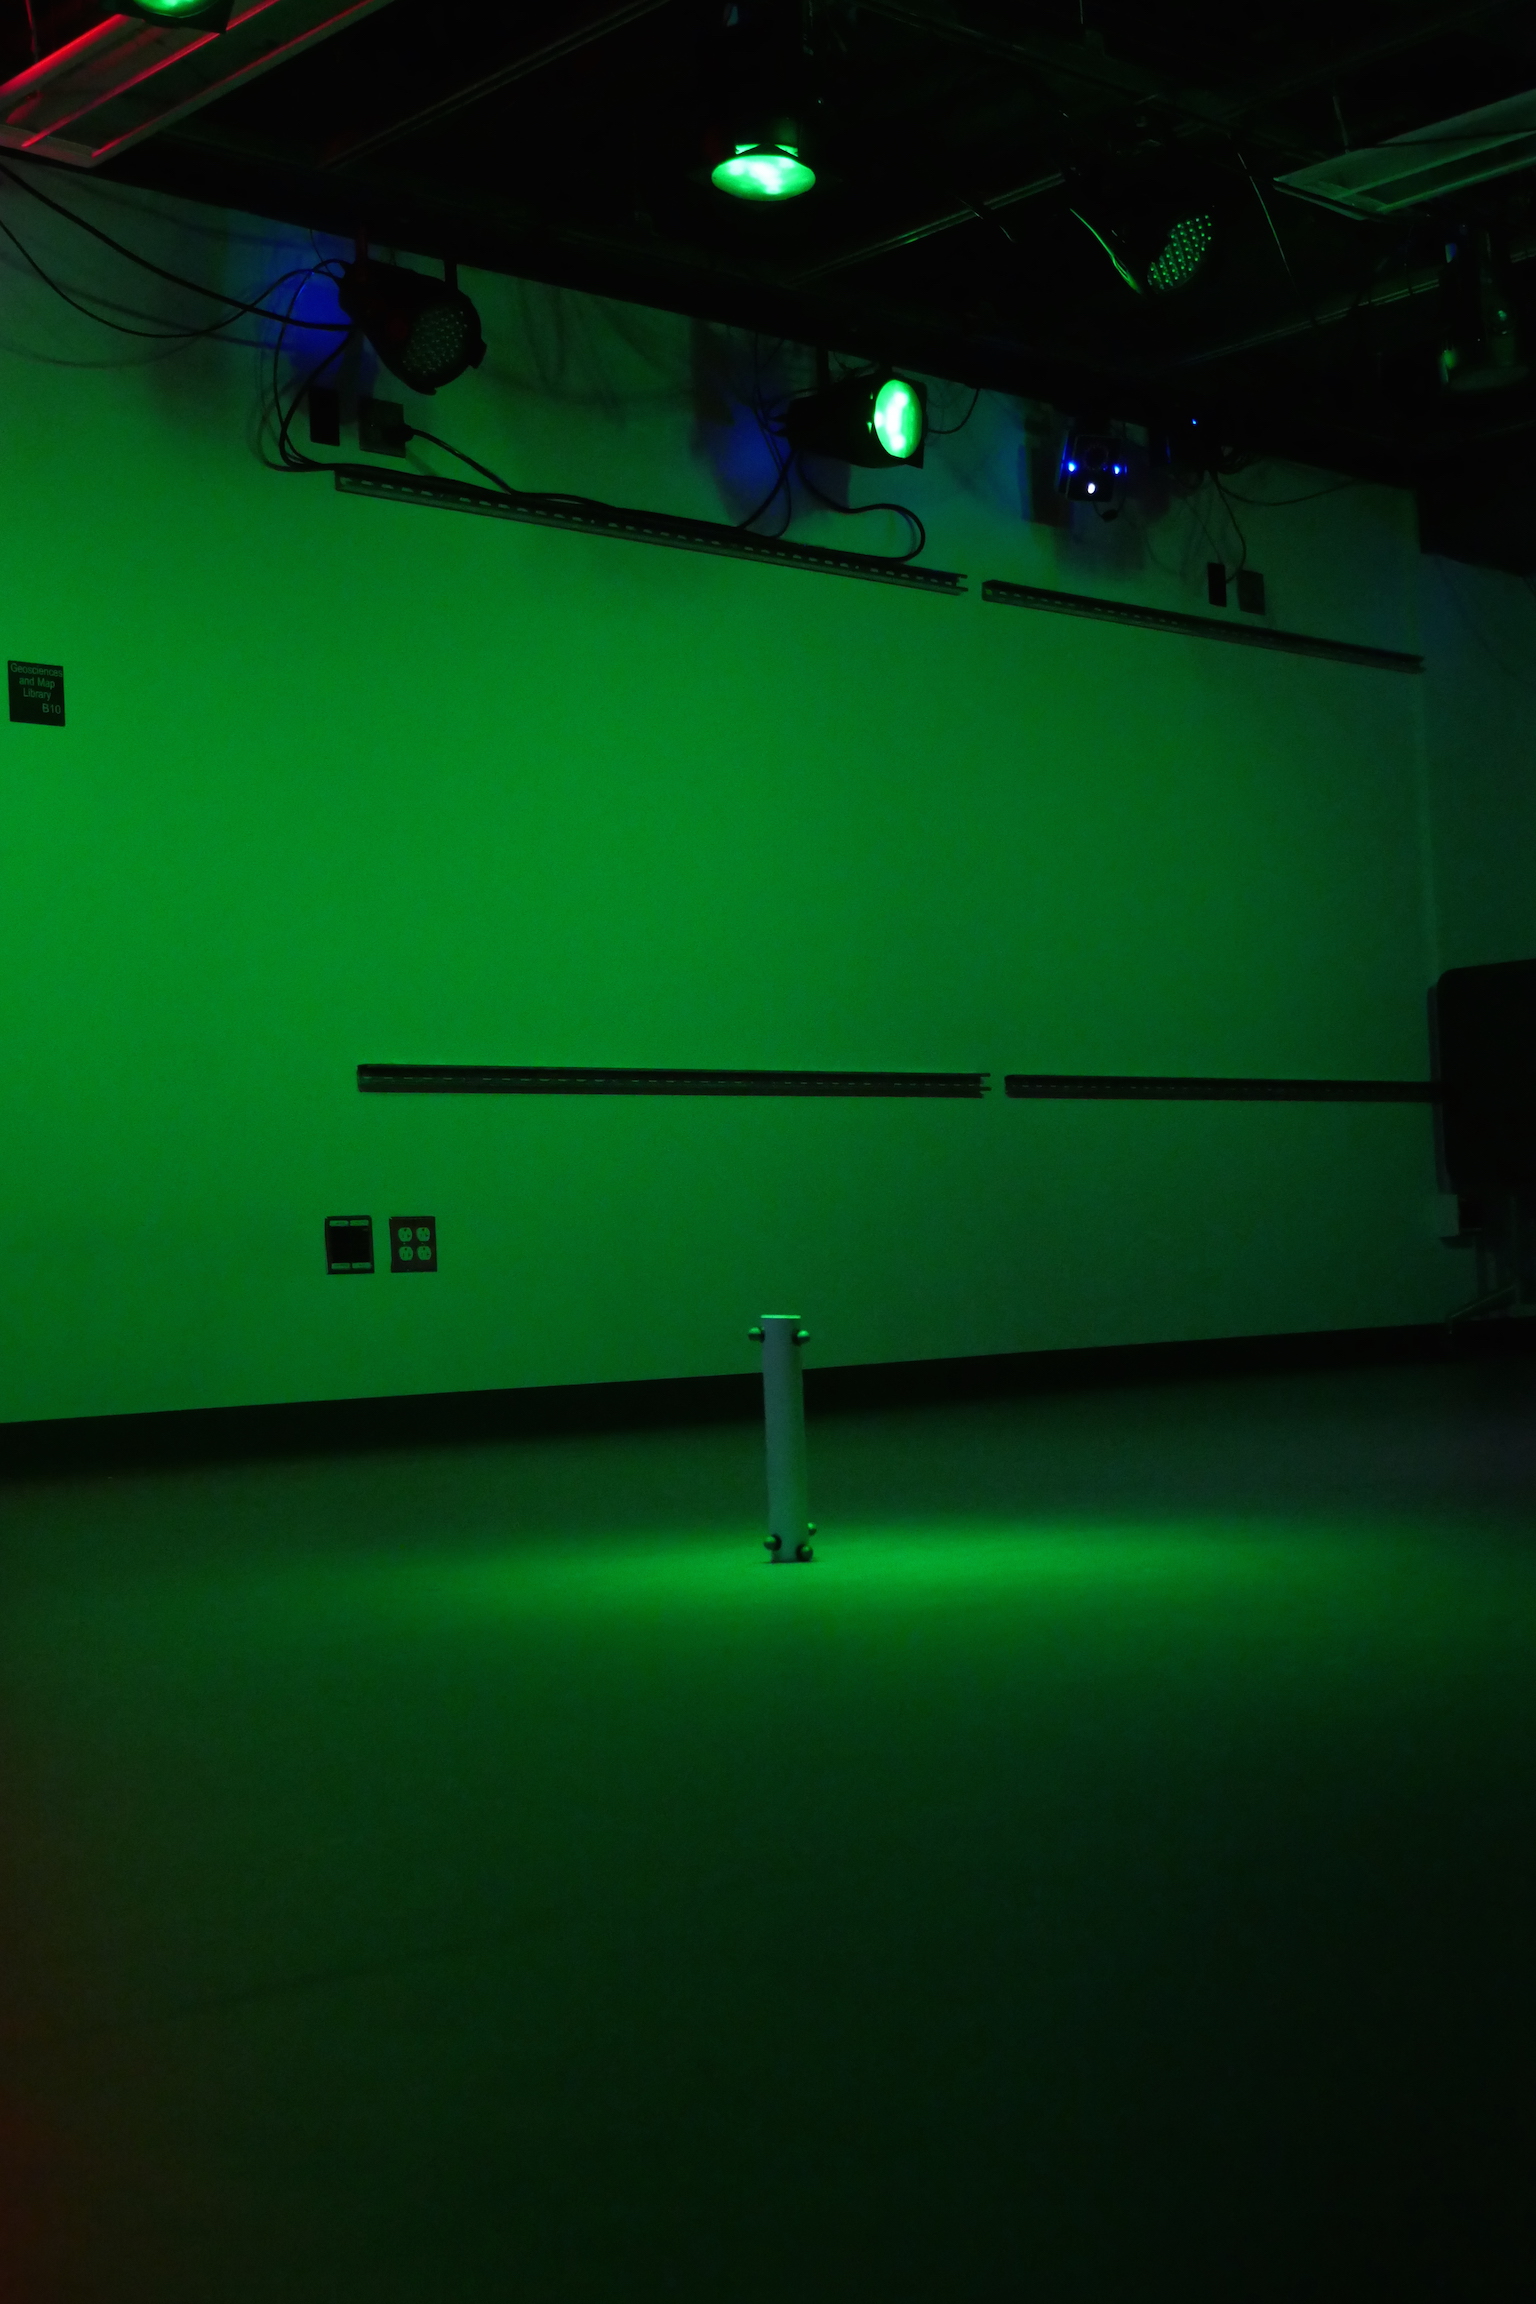
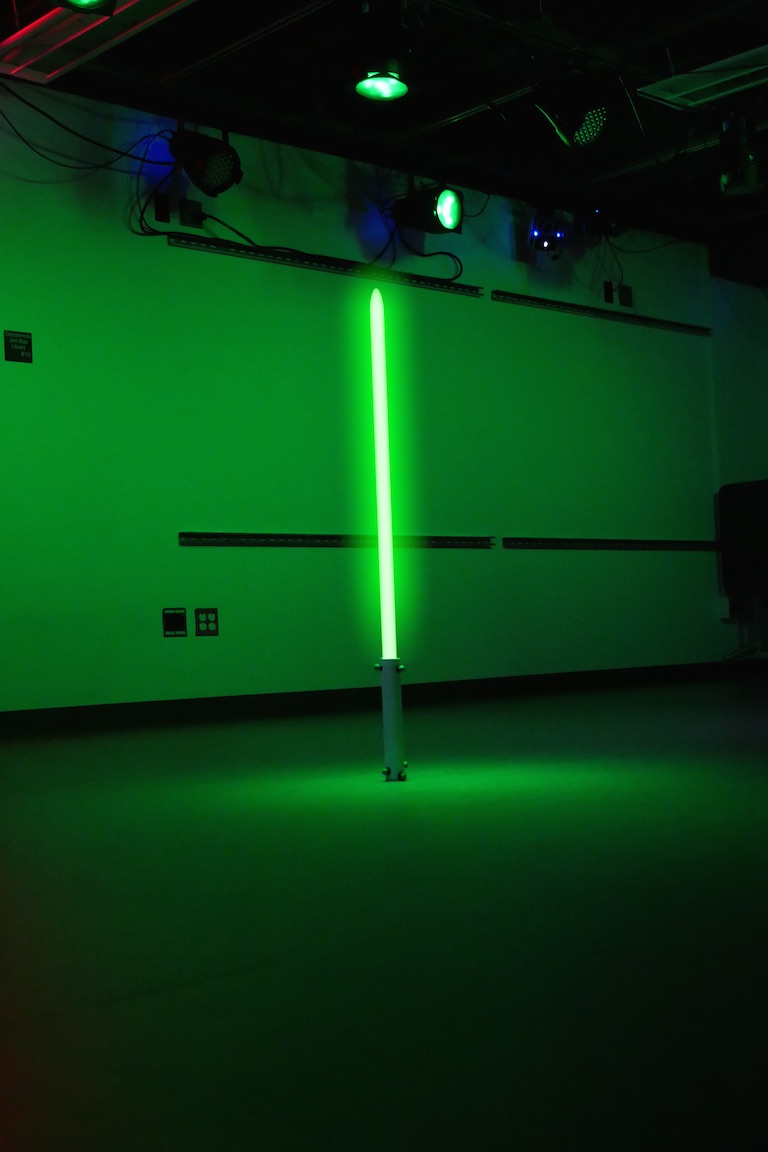
Just for fun, I also rendered a few high quality still frames, taking advantage of the theatrical lighting setup built into the motion capture stage to replicate the light emitted by the lightsaber.