VFX Photobooth
This project was completed as part of the course STC 309: Independent Design in Engineering and the Arts. Source files can be found on Github.
Background
This project aims to help solve the problem of introducing visual effects to a larger audience. While pretty much everyone has seen the results of large-scale visual effects work in any modern blockbuster, the underlying technology and artistry is very seldom highlighted or discussed. Visual effect breakdowns produced as part of films' public relations campaigns highlight the latest technology but tend to be edited for maximum awe and impact rather than educational content. On the opposite end of the spectrum, tutorial videos for 3D animation and visual effects software have proliferated with the growth of web video platforms such as YouTube. While detailed, tutorials struggle to capture the imagination and are susceptible to becoming bogged down in the minutiae of specific software rather than imparting generally applicable concepts.
What is needed is a way to quickly demonstrate visual effects concepts to a general audience while leaving the door open to more in-depth exploration. Earlier work with motion tracking to replicate famous effects such as a lightsaber showed that even simple effects can make for compelling demonstrations. Could we create a teaching tool that stands on its own like a video, yet also be useful in a structured learning environment?
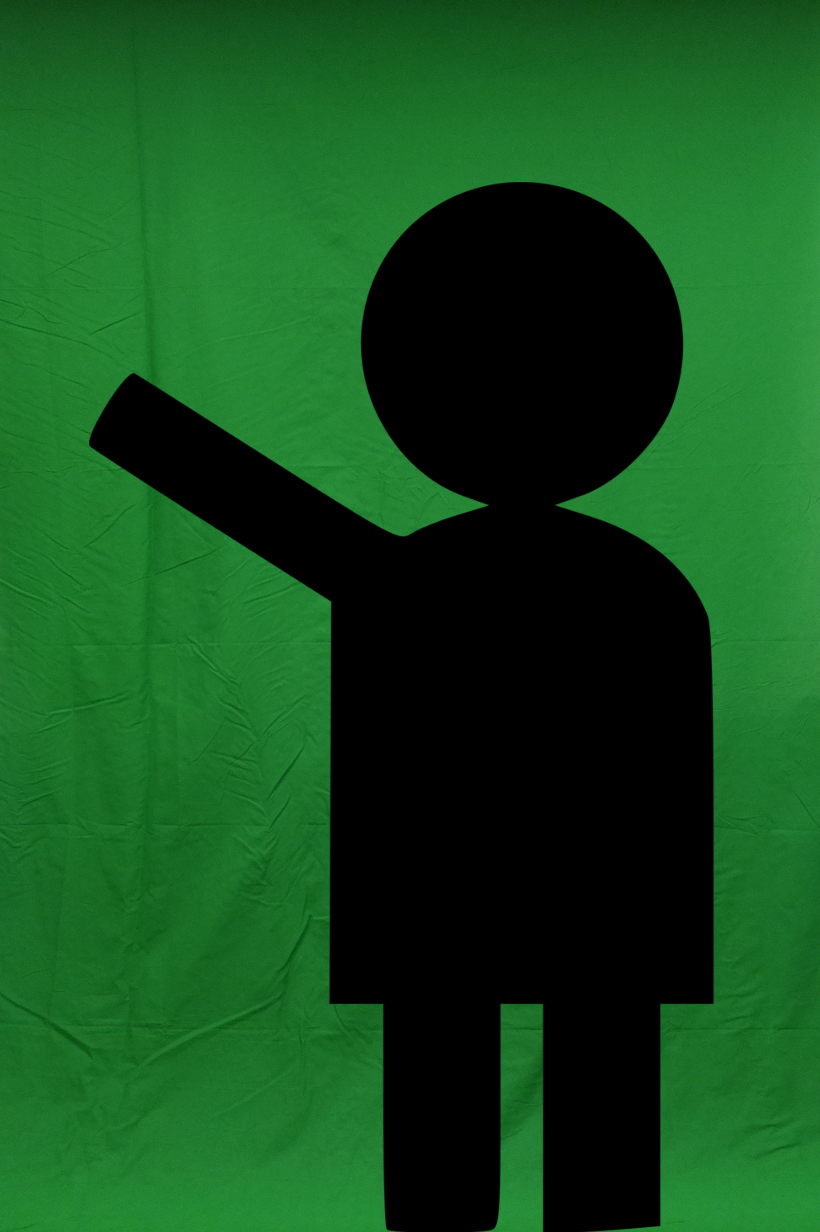
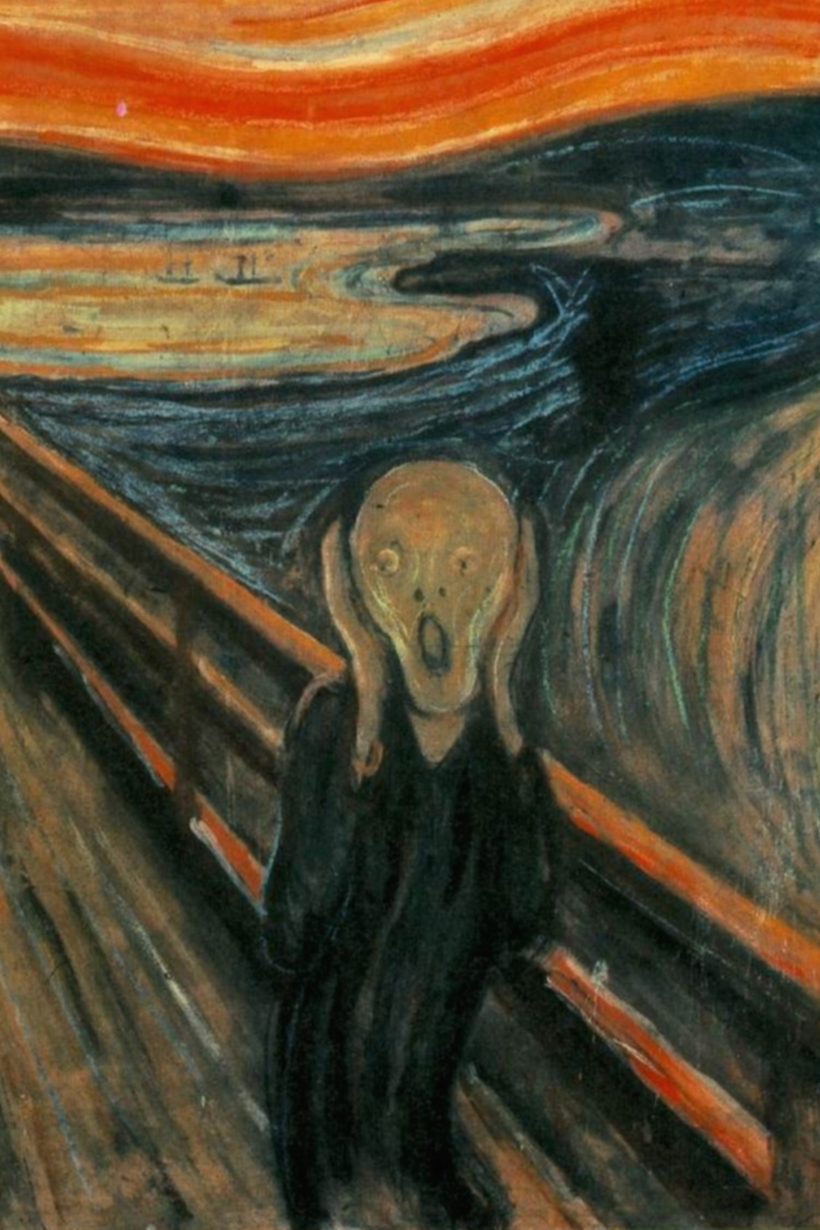
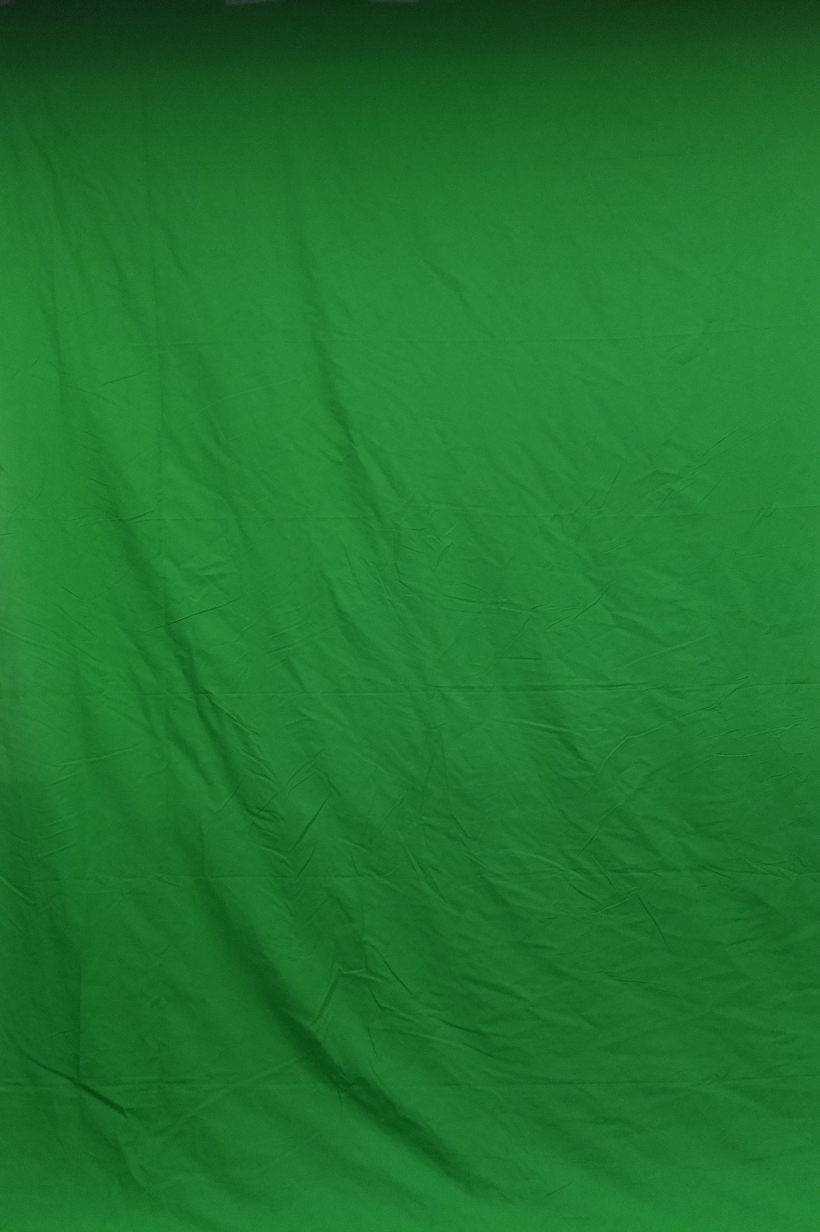
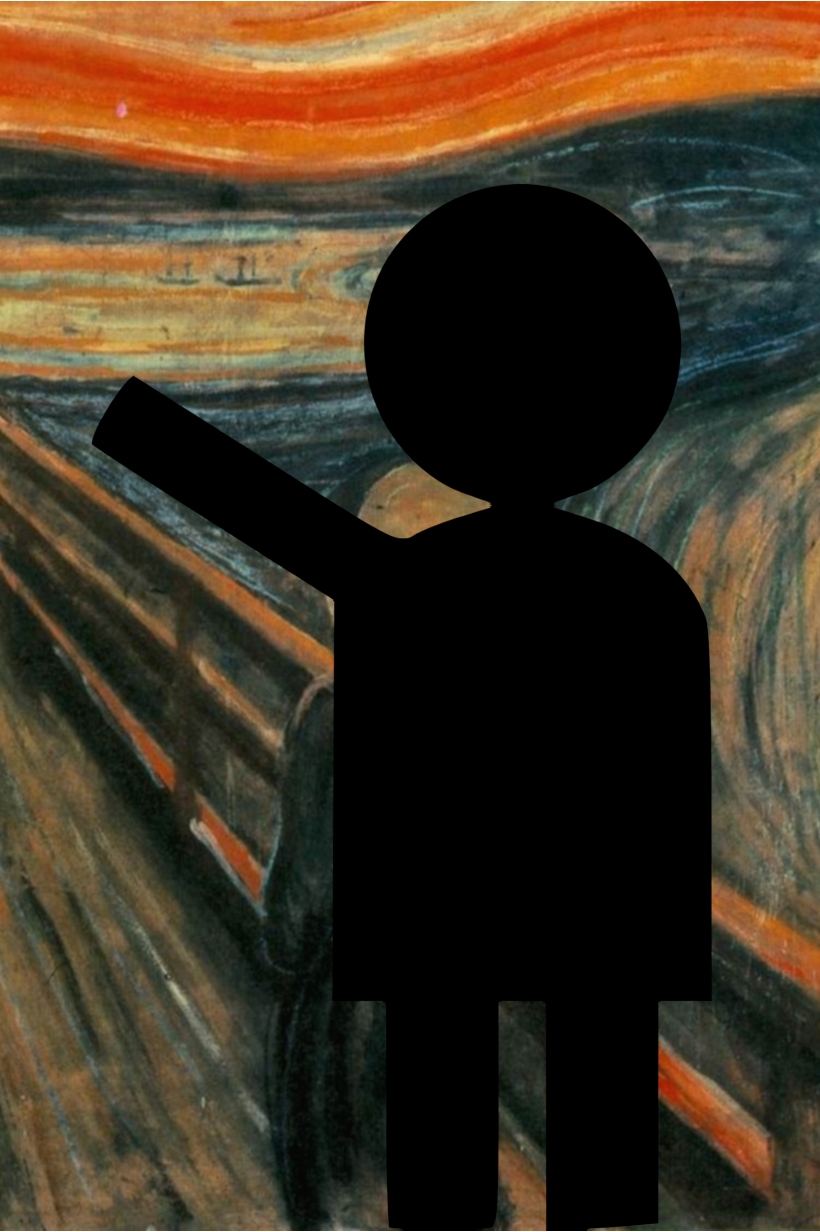
For the purposes of this demo, I decided to focus on the process of compositing, as it is a very simply but vital component of any visual effects pipeline. Compositing refers to the task of layering different pieces of footage or imagery over each other, for instance adding real-life footage of an actor to a computer generated background. A common way to remove the background from foreground footage is chroma-keying or "green screening," where the background is painted a specific color, usually green, and the computer subtracts away all the pixels that are close to that chosen background color. These two processes can be easily automated, and so would make for a great demo.
Design
During early design brainstorming, the idea came up of adopting the form factor of a photobooth. In a traditional photobooth, a camera is set up in front of some backdrop. A group of friends carefully curates their presentation with props and costumes, poses in front of the camera, and receives an image that they can take with them. The booth itself requires very simple interaction, not more than a push button, making it easy to understand and use. Photobooths also inherently encourage customization and give the user creative freedom, helping to get users personally invested in the process as well as the result.
Two primary use cases were considered when performing the initial design.
Casual User
Since the photobooth is intended to be a stand-alone unit, most people who run into it might not know much about or have much interest in visual effects prior to interacting with the device. In this case, ideally the device would show the user some of the basics of compositing, imparting a surface level understanding of what is happening and why this technique is useful. To this end, the final result image is probably the most valuable element for the casual user. Being able to go from a raw image to composited result quickly demonstrates the potential of the technology and also provides a nice takeaway that can be saved or shared on social media.
Workshop Participant
On the other side of the spectrum, the photobooth should also be able to foster a more in-depth exploration of these techniques, say by someone who has some interest in visual effects who wants to learn how to produce these effects on their own. By leveraging open-source tools and saving intermediate source files, the pipeline used by the photobooth should be easily replicated on any other computer. In addition to the final image, the photobooth should also support downloading all the intermediate source files and images so that an interested user could continue to play with and modify these effects. This could prove useful in a workshop setting as a way to quickly produce a set of personalized source material instead of relying on bland stock materials. The sense of personal connection might help encourage creative exploration and foster engagement with the core ideas behind visual effects.
Hardware
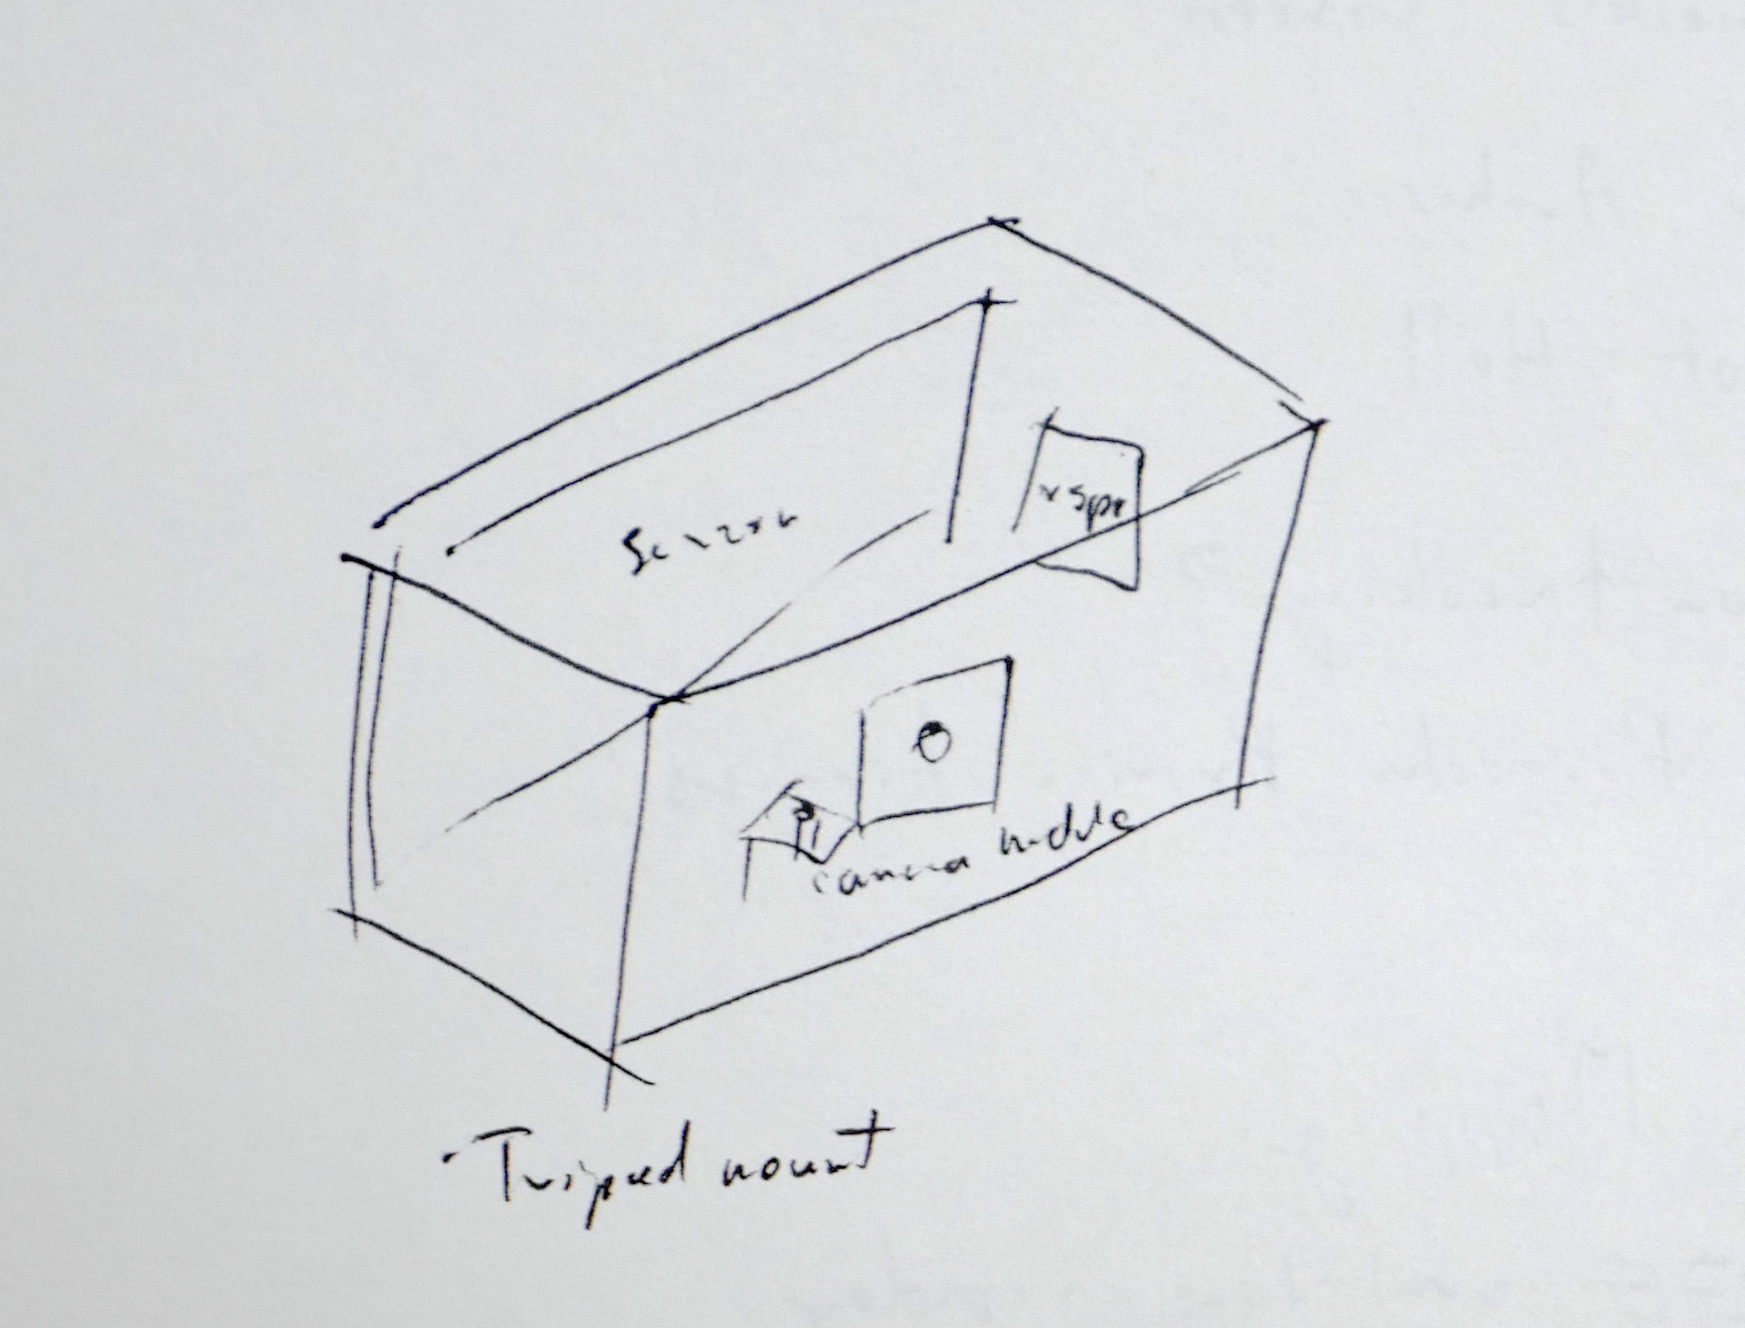
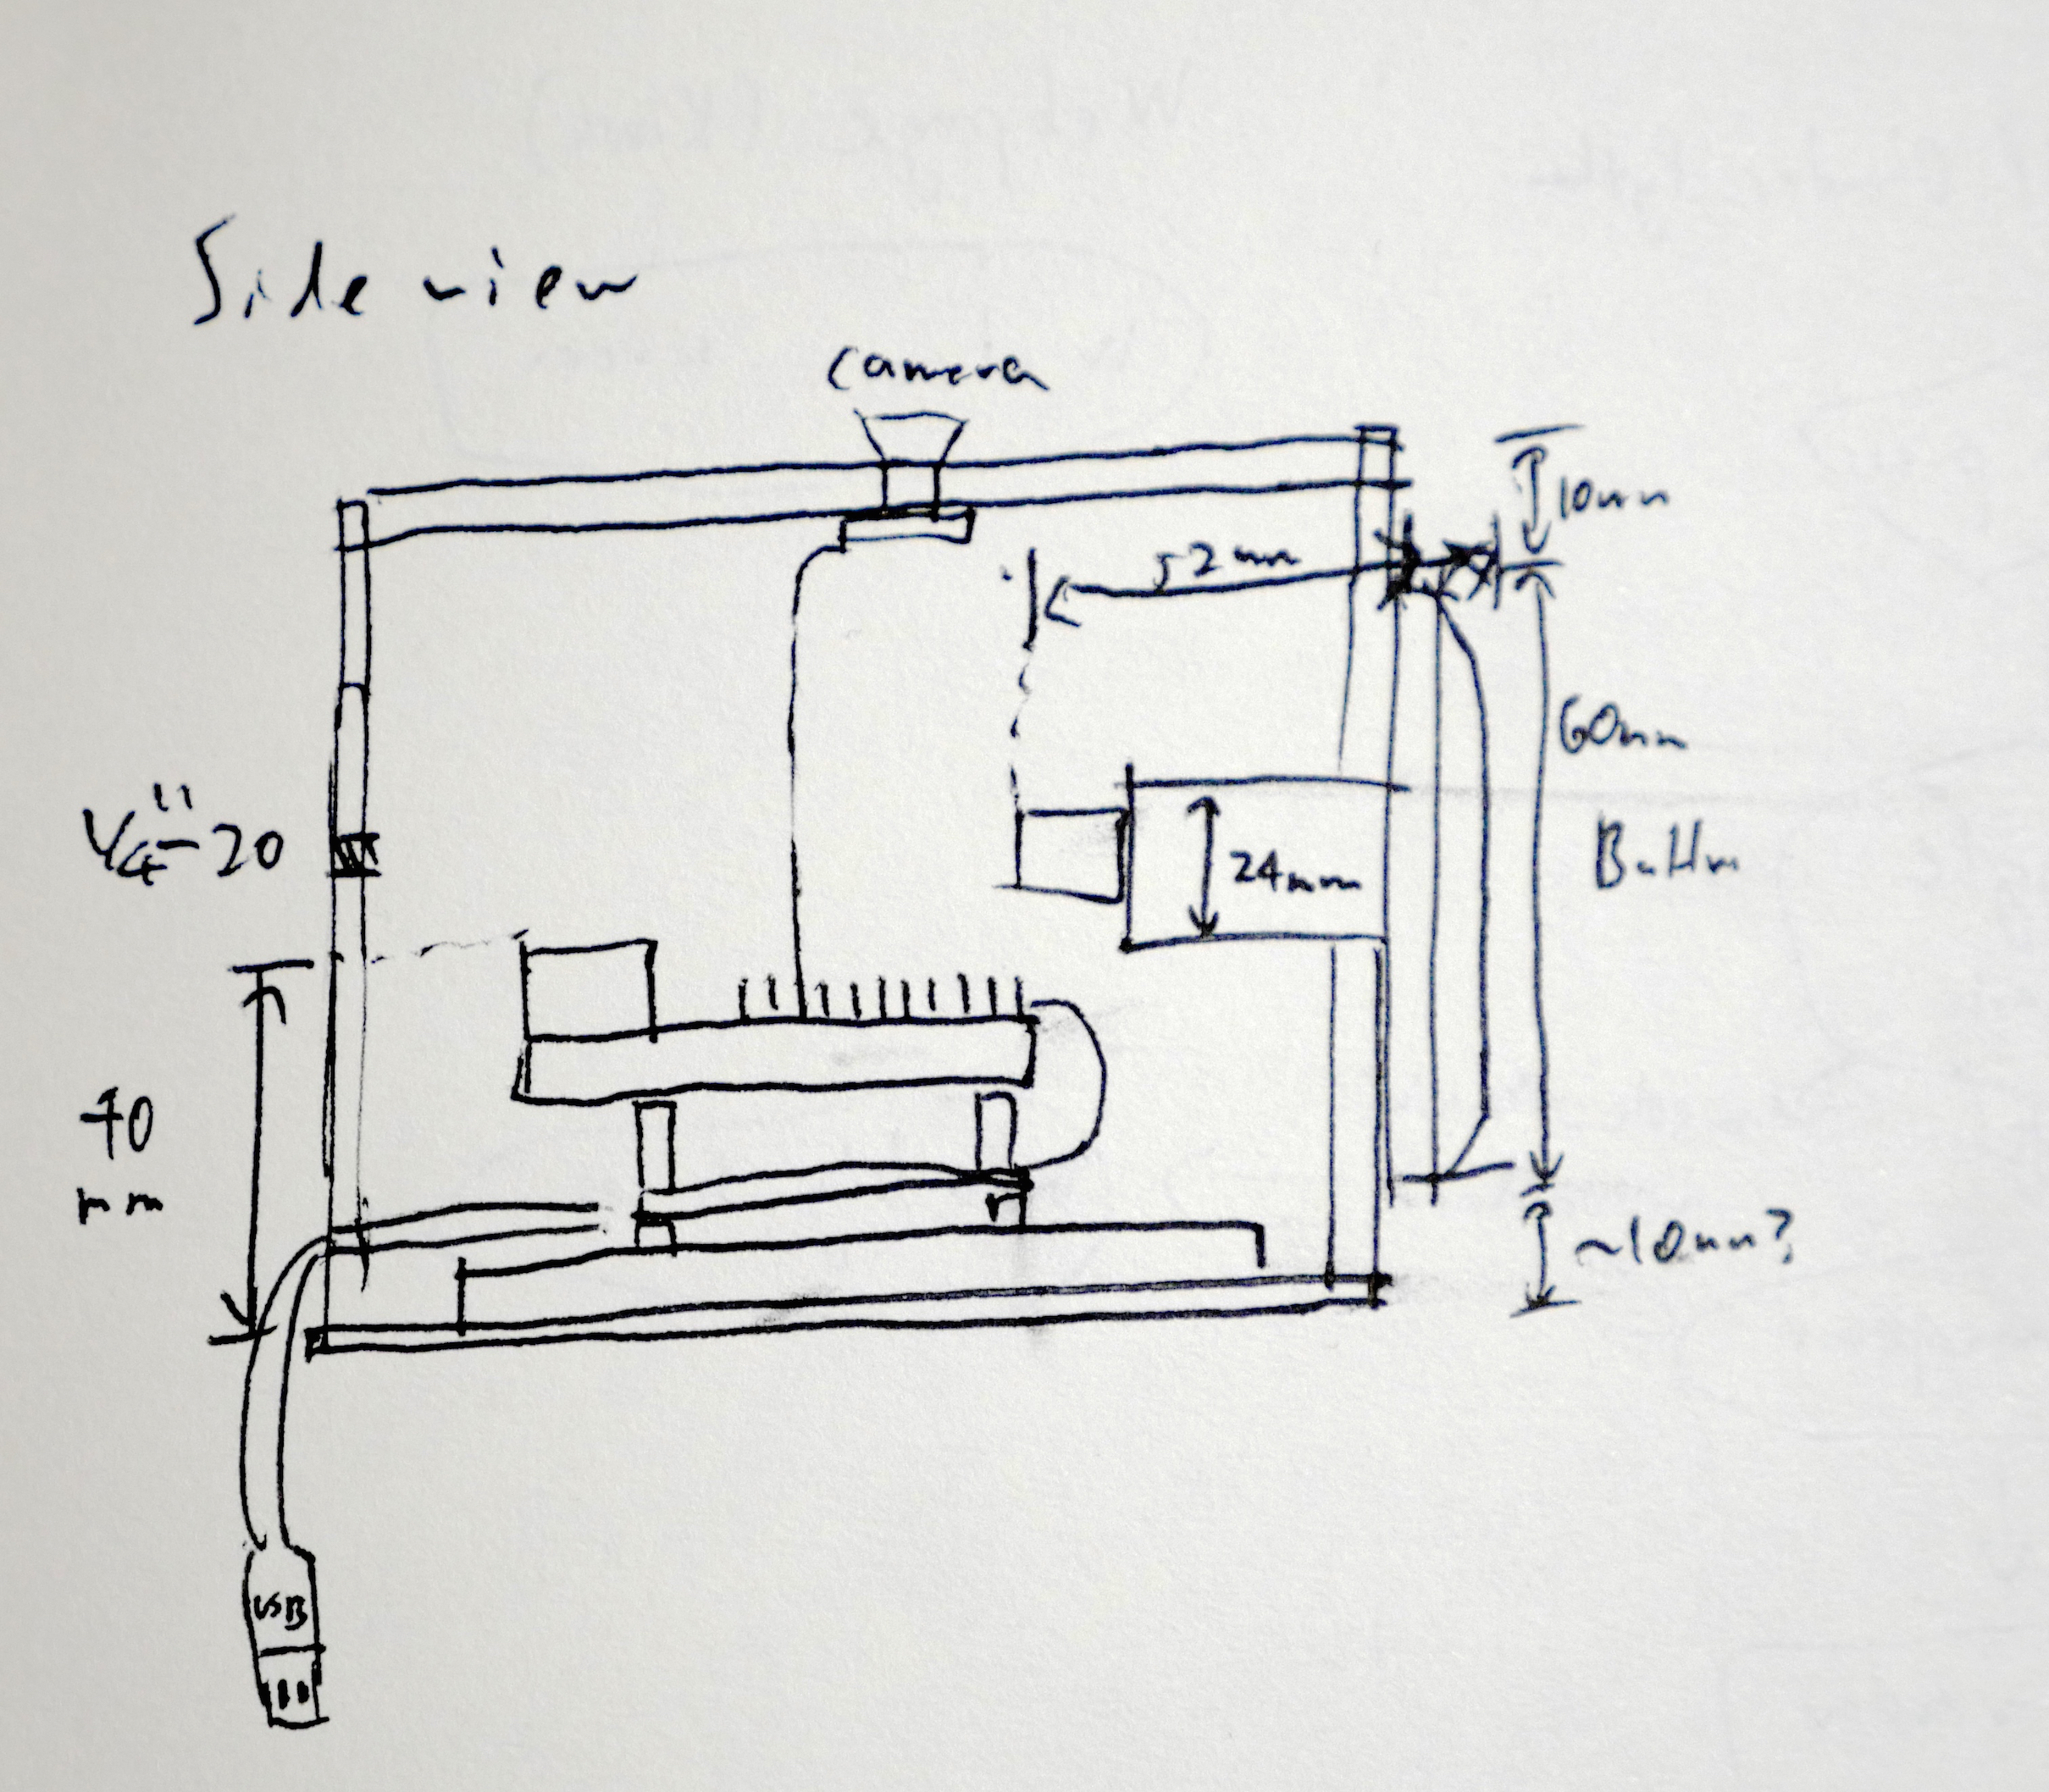
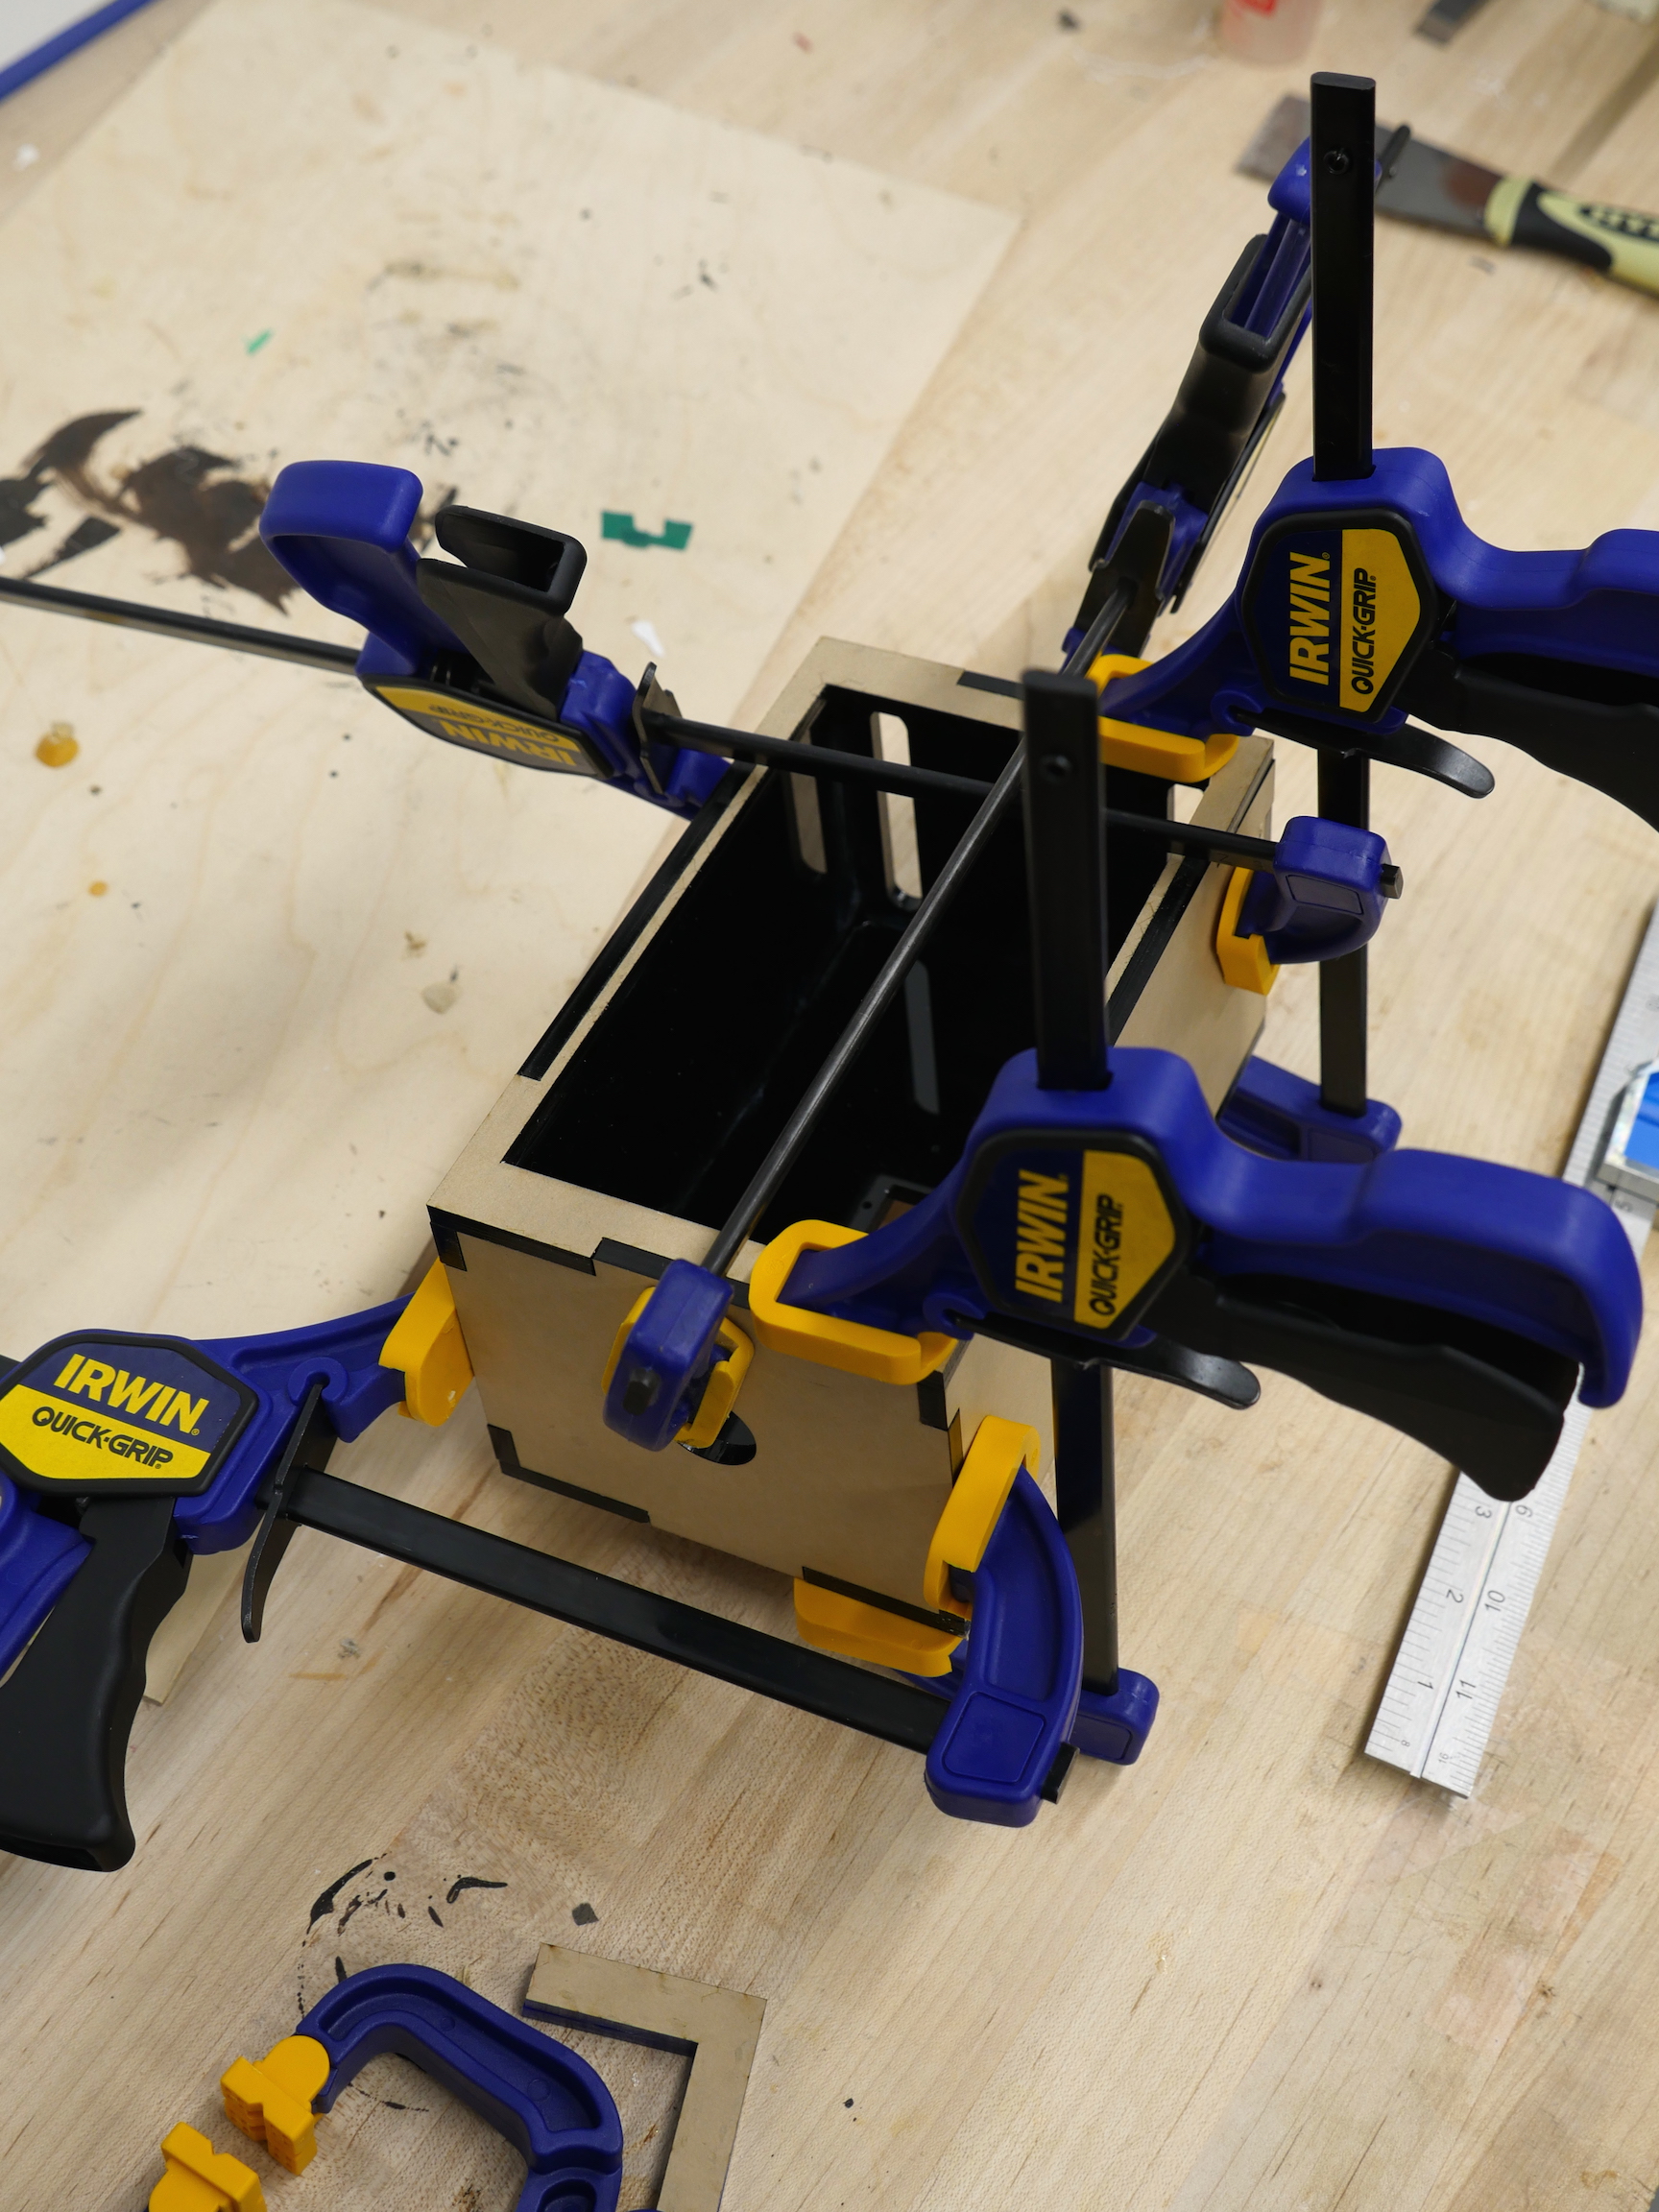

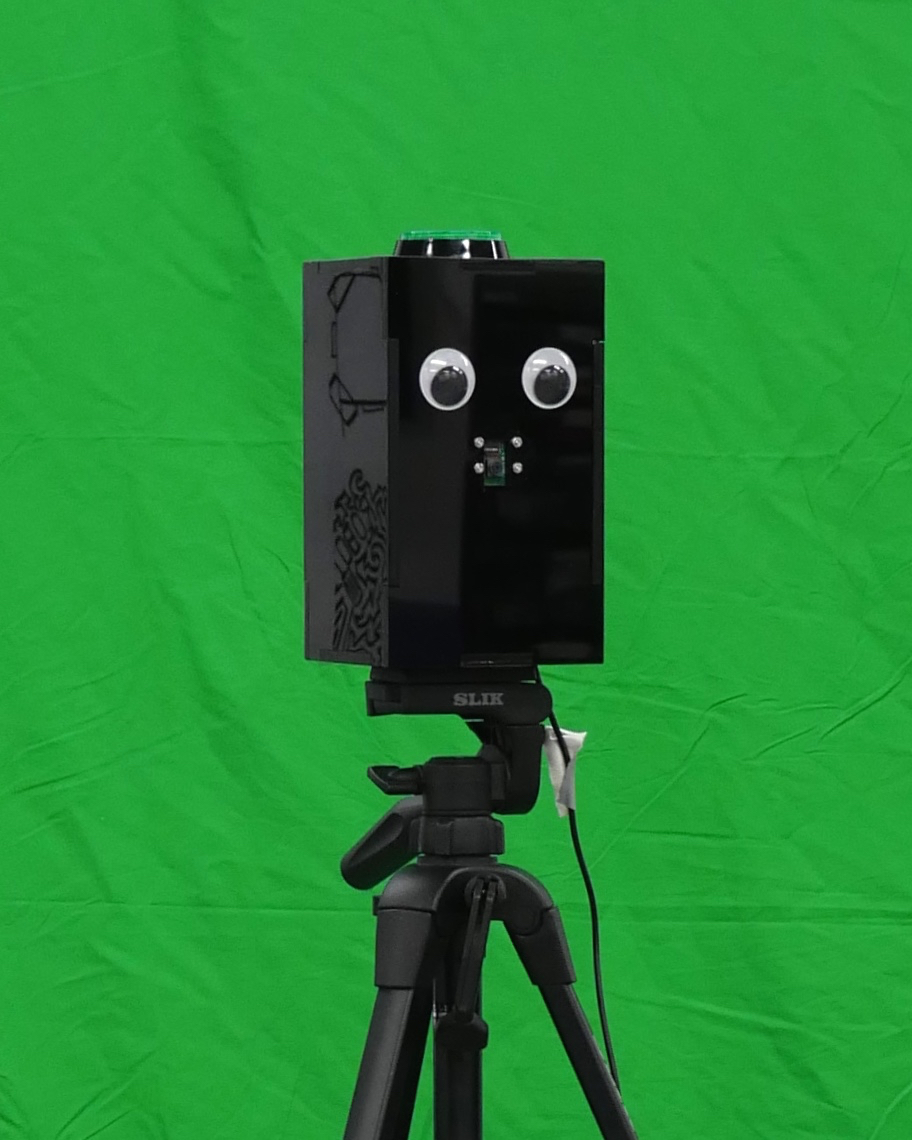
I designed an laser-cut acrylic enclosure in Onshape. The enclosure was cut out of 1/8" acrylic and glued together with standard cyanoacrylate superglue. The bottom of the enclosure has a 1/4-20 tapped hole so that the whole unit can be mounted on any standard tripod. The camera module is screwed into the front with 2-56 screws. The Raspberry Pi attaches to the back of the touchscreen with the provided standoffs, and the screen itself is attached to the back of the enclosure with double-sided tape. The power cable is routed out through slots on the bottom of the enclosure.
Software
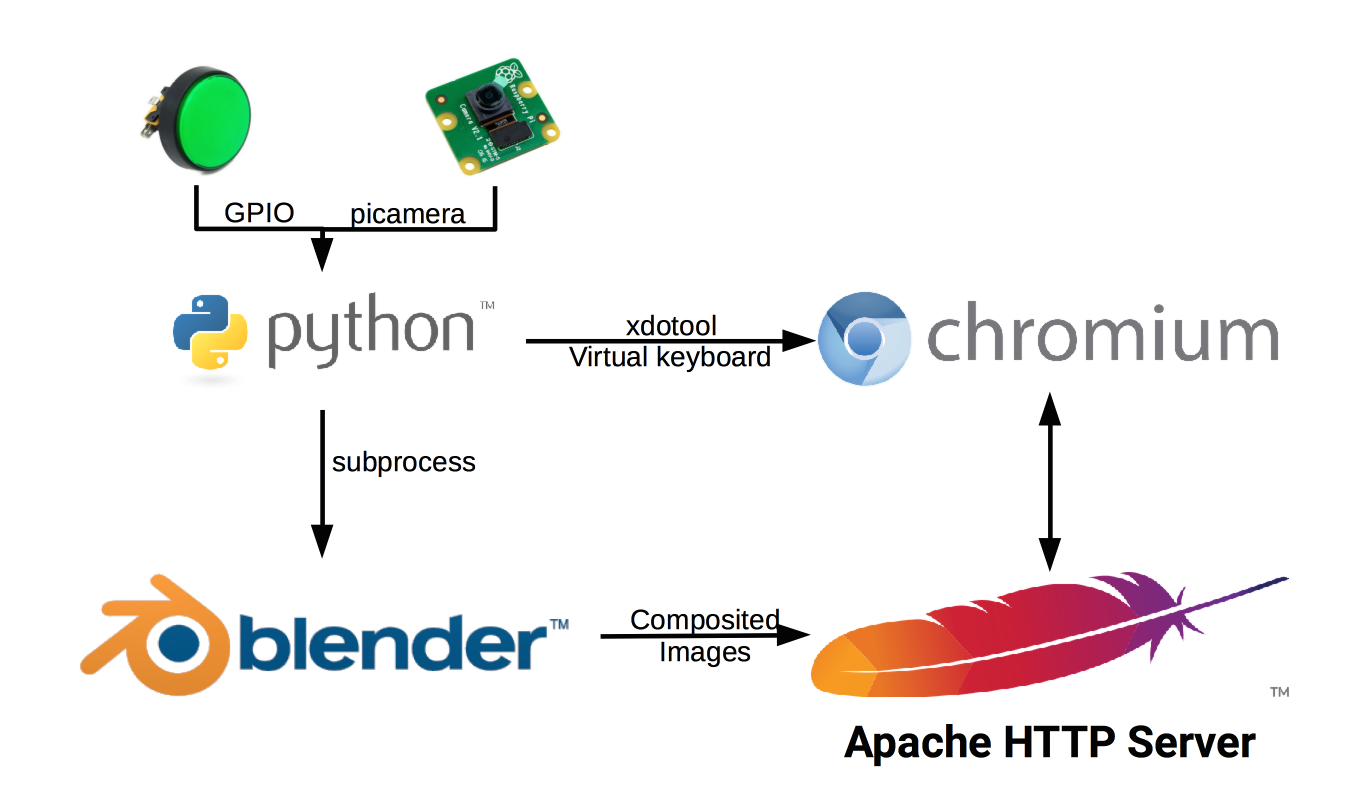
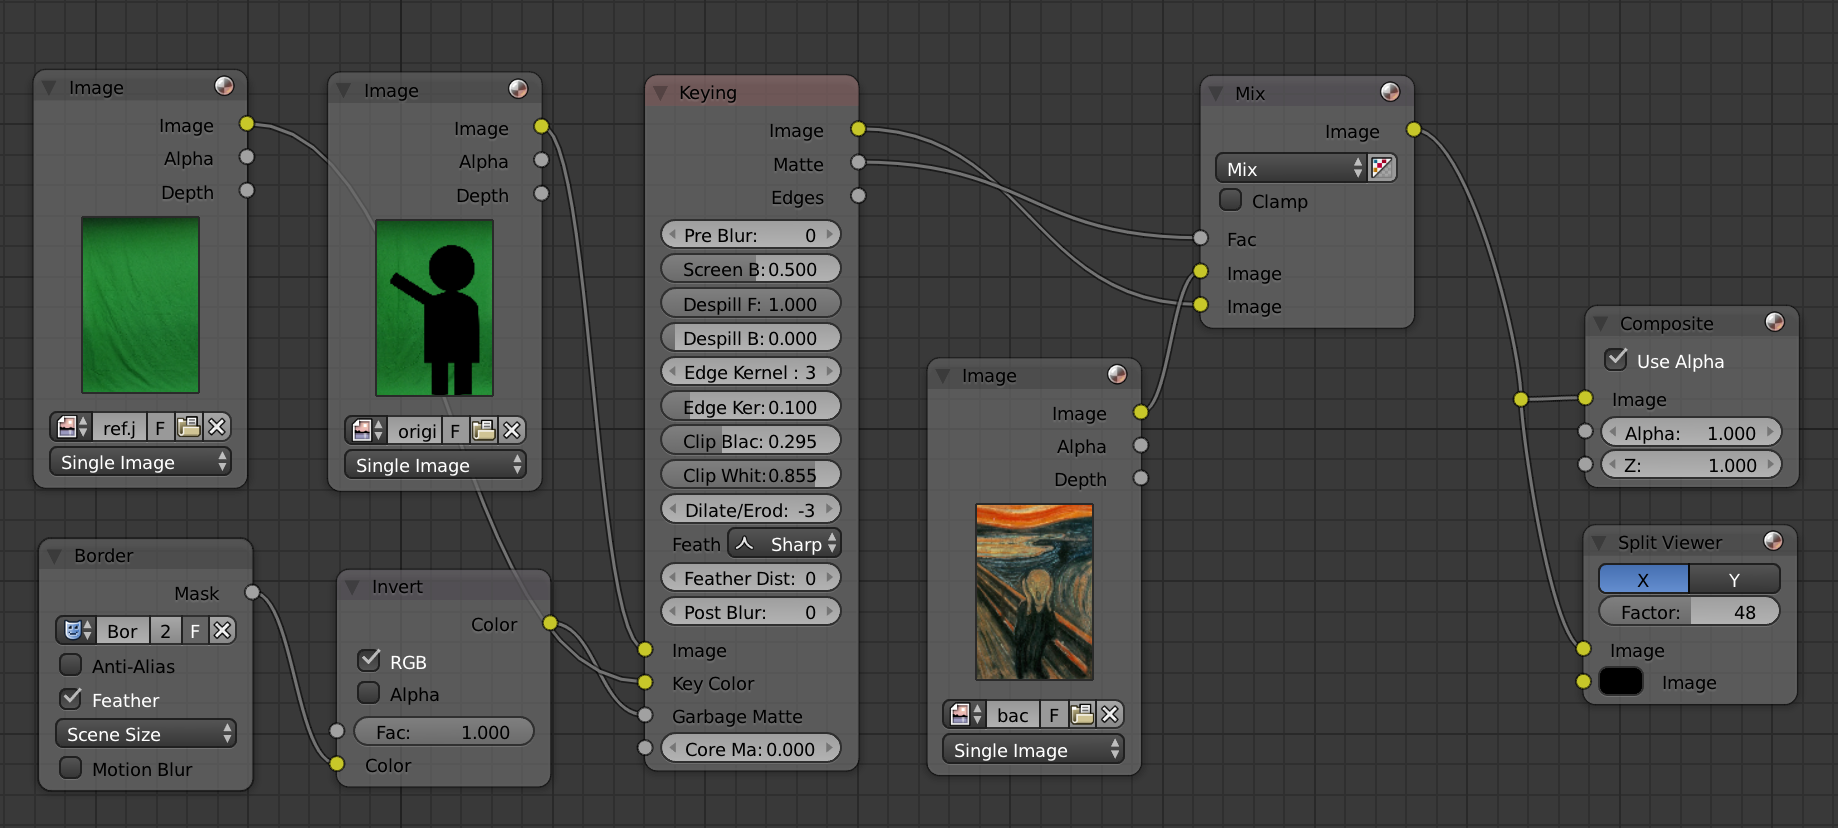
Blender performed the core work of compositing the images and producing the final output. A simple chroma-keying setup using the built-in Keying Node was created to perform background subtraction. The Python script chooses a background at random and inserts it into the correct relative path for Blender to access. The parameters of the Keying node took some time to optimize, but once the compositor setup had been set and saved in a .blend file, no further input was needed.
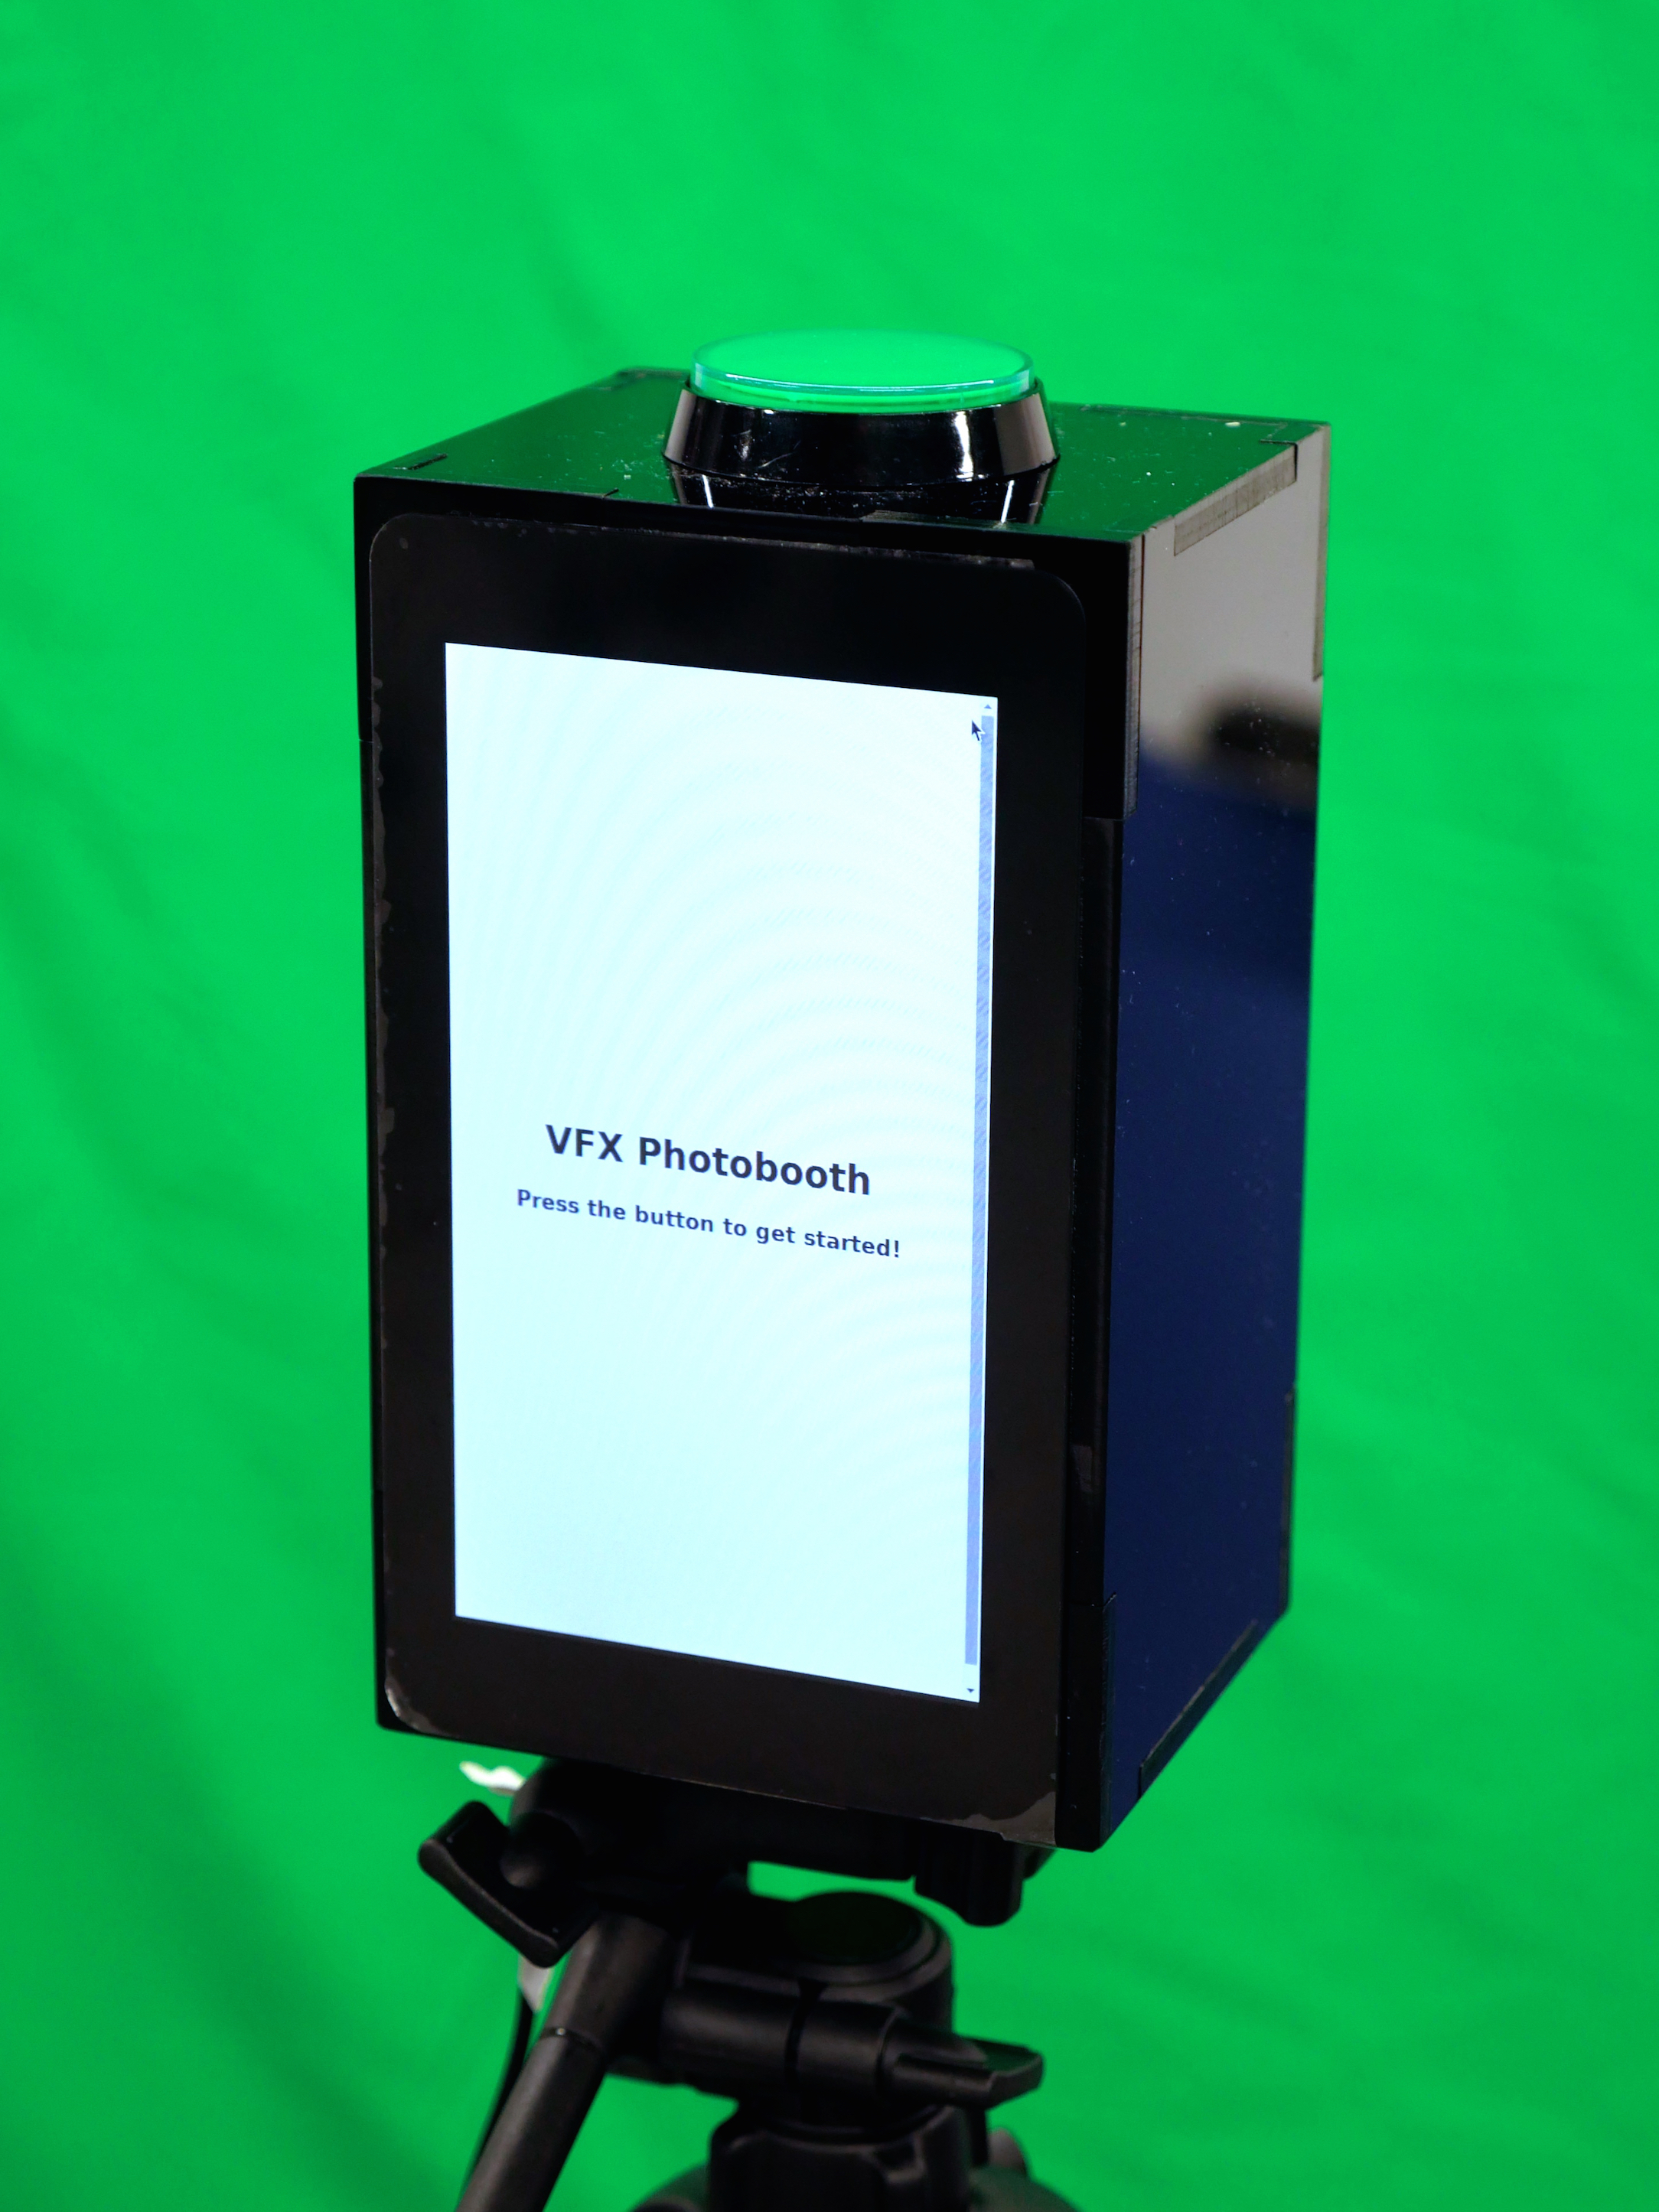
In total there are three pages shown on the screen. At the beginning, a simple welcome screen instructs the viewer to press the button. The moment the button is pressed, the camera snaps a photo and launches Blender to begin processing. The screen switches to a processing page, showing the raw captured output and a simple spinner to show activity. Once the final output is ready, a results page is displayed with the final image as well as links and a QR code where the result files can be downloaded for further exploration.
Results
Overall the photobooth compositing performs very well when given a stable background and decent lighting. When it was demonstrated at the STC 309 year end project exhibition, a number of people came up and took photos on their own, without the need for instruction. A few people had difficult connecting to the network to download the results, but overall I felt that the photobooth achieved the starting goal of keeping the device easy to use. In the future, it may be interesting to look at how the device performs in a formal class environment rather than an open exhibition.